Introduction
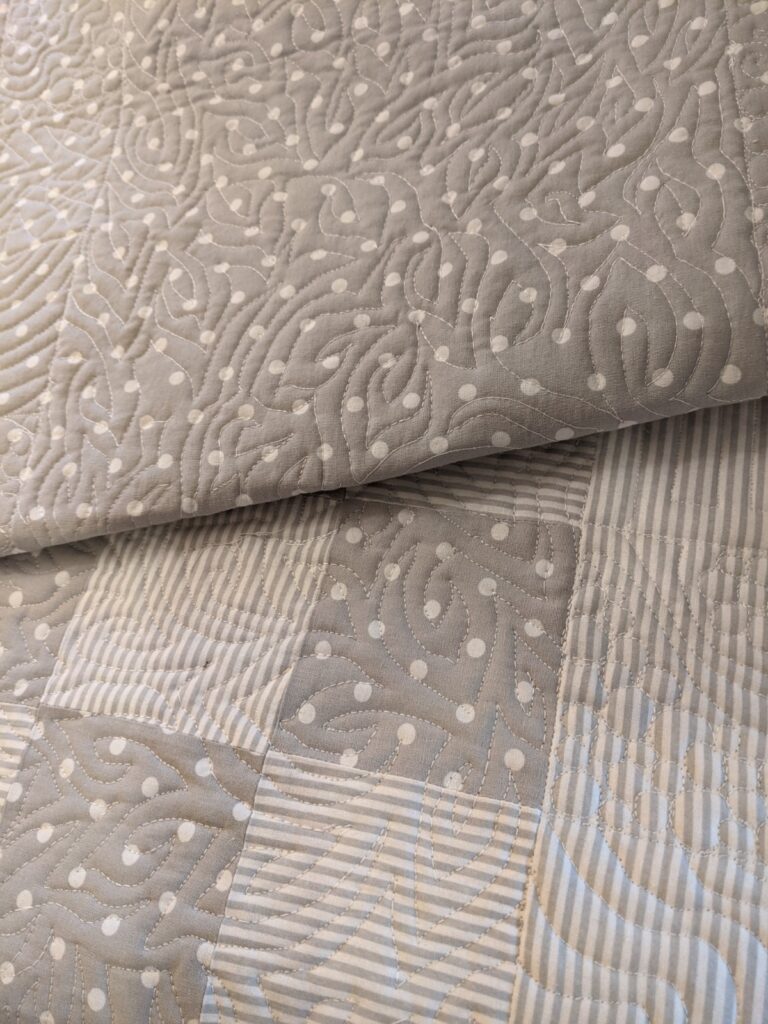
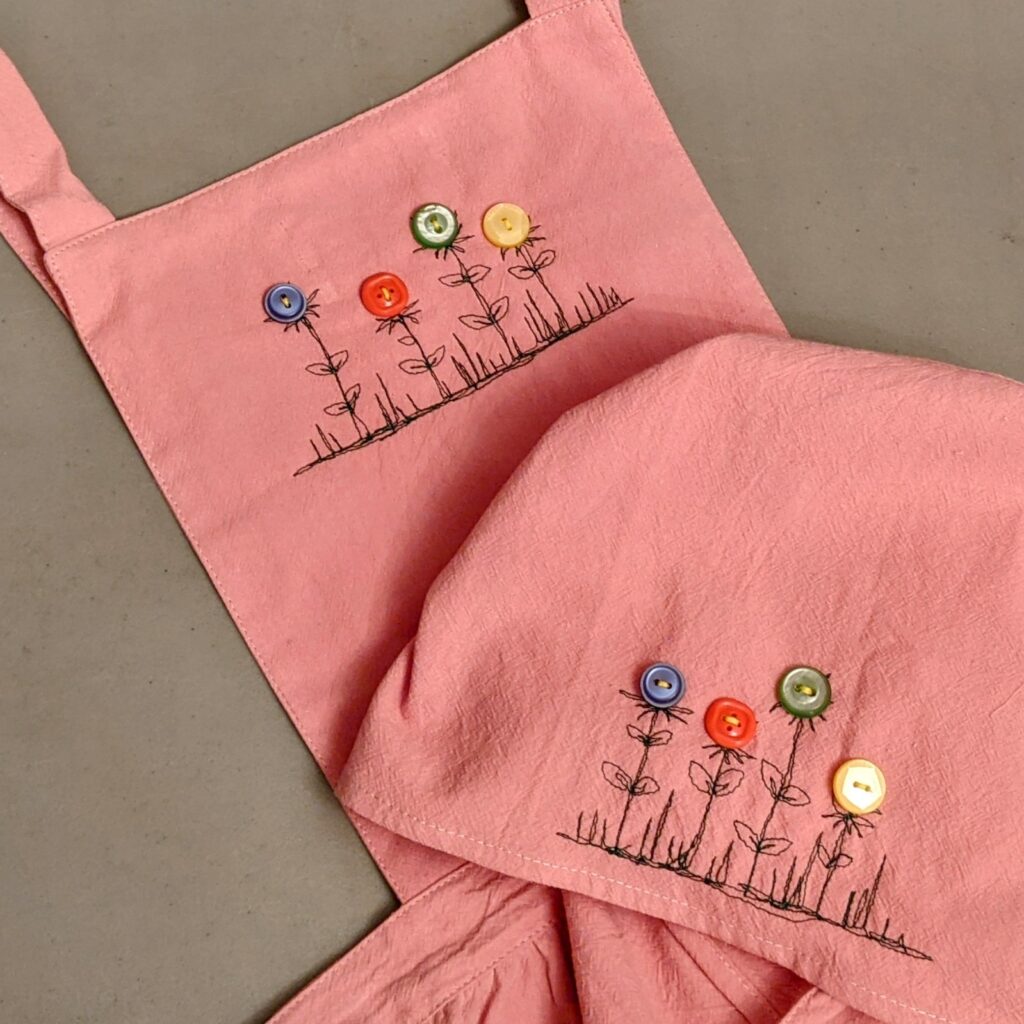
In the realm of textile artistry, there’s a technique that allows for boundless creativity and personal expression. It’s called “free motion embroidery,” and it’s the magic behind some of the products you see here. In this blog post, we’ll dive into the fascinating world of free motion embroidery and how it’s employed to create the unique and intricate pieces you find in my collection.
What is Free Motion Embroidery?
Free motion embroidery is an artful fusion of sewing and drawing, using a sewing machine as your brush and fabric as your canvas. Unlike traditional sewing, where the machine moves the fabric for you, free motion embroidery puts you in control. You guide the fabric manually, allowing for artistic freedom and spontaneity in your designs.
How I Create My Products
Step 1: Preparing the “Canvas”
Every creation begins with selecting the perfect canvas – a high-quality piece of fabric. Whether it’s a tote bag, a cushion cover, or a piece of clothing, the fabric provides the foundation for my artwork. It’s like choosing the right paper for a watercolor painting.
Step 2: Setting Up the Sewing Machine
Next, I prepare my trusty sewing machine. Equipped with a special free motion foot, it’s ready to bring my ideas to life. I also lower the feed dogs, the mechanical teeth that typically move the fabric, to ensure complete control over the fabric’s movement.
Step 3: Design Inspiration
Inspiration can strike at any moment, and it often dictates the direction of my work. Whether I’m inspired by nature, geometric patterns, or a client’s unique request, I begin by sketching out the design concept.
Step 4: Selecting Thread
I choose threads that complement the fabric and design, creating a harmonious visual experience. The color and texture of the thread are like the brushstrokes in a painting.
Step 5: Practicing the Stitches
Before diving into the main project, I practice on a spare piece of fabric. This warm-up session helps me adjust to the fabric’s feel, experiment with stitch lengths, and clear my mind to make sure I am in the right headspace to connect to my machine.
Step 6: Bringing the Design to Life
With the design concept in mind and a practiced hand, I begin the real work. I lower the presser foot, start the machine, and gently guide the fabric, stitching in all directions. It’s akin to painting a picture, but with fabric and thread as my medium.
Step 7: Drawing with one line
Free motion embroidery allows for intricate details, textures. Its all done with drawing one continuous line. Always thinking about the next step and not sewing yourself into a corner. This is where the magic truly happens, turning a simple piece of fabric into a work of art.

Step 8: Finishing Touches
Once the design is complete, I ensure that all loose threads are secured, and the fabric is well-tended to. It’s essential that my products are not only visually stunning but also durable and ready to withstand everyday use.
Conclusion
Free motion embroidery is the heart and soul of the products I create. Each piece is a labor of love, where artistic inspiration and skilled craftsmanship come together to form unique and personalized textile art. Whether you’re looking for a custom-made gift or a one-of-a-kind addition to your home decor, my creations embody the magic of free motion embroidery. Each stitch tells a story, and I hope that my work brings joy and beauty into your life. Thank you for supporting handmade artistry!
You can find some of my works in progress on my instagram page.

