Posted on

Crafting Magic: Unveiling the Art of Free Motion Embroidery

Introduction

In the realm of textile artistry, there’s a technique that allows for boundless creativity and personal expression. It’s called “free motion embroidery,” and it’s the magic behind some of the products you see here. In this blog post, we’ll dive into the fascinating world of free motion embroidery and how it’s employed to create the unique and intricate pieces you find in my collection.

What is Free Motion Embroidery?

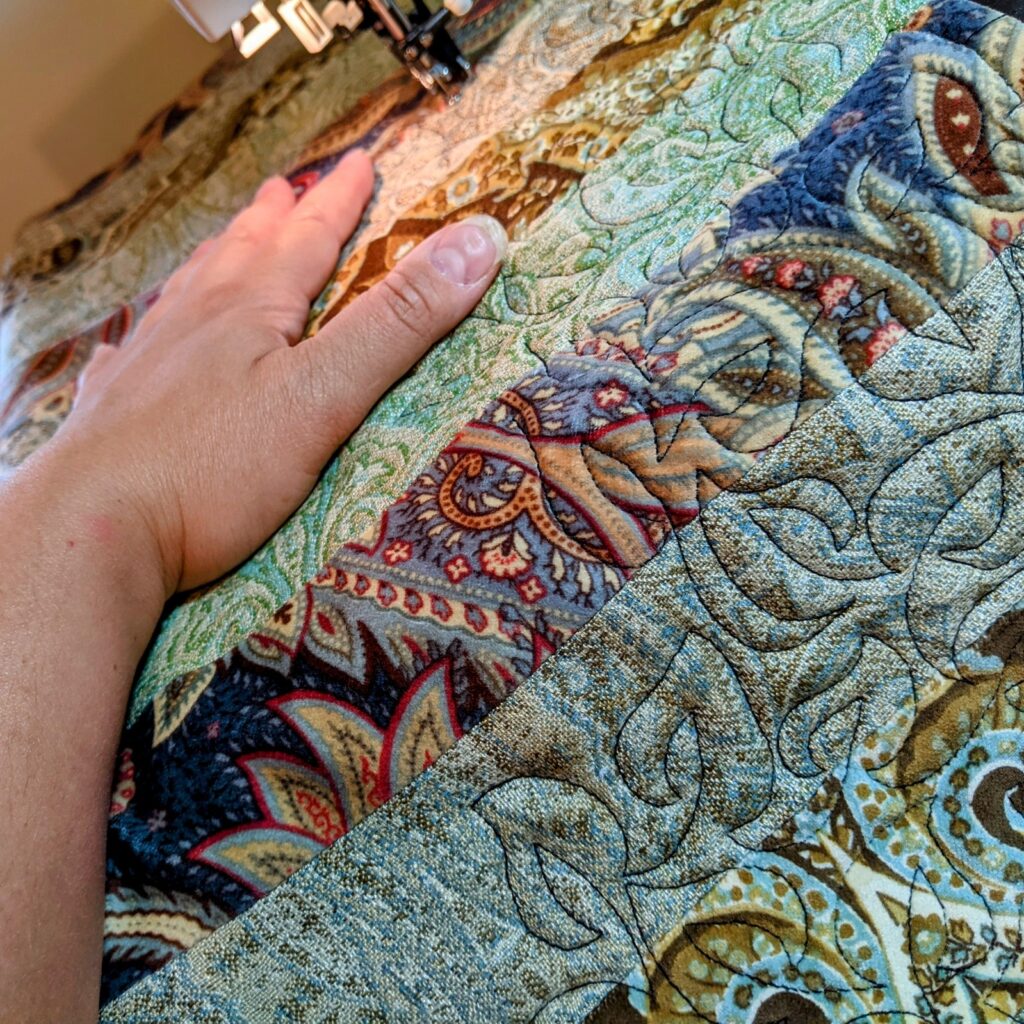
Free motion embroidery is an artful fusion of sewing and drawing, using a sewing machine as your brush and fabric as your canvas. Unlike traditional sewing, where the machine moves the fabric for you, free motion embroidery puts you in control. You guide the fabric manually, allowing for artistic freedom and spontaneity in your designs.

How I Create My Products

Step 1: Preparing the “Canvas”

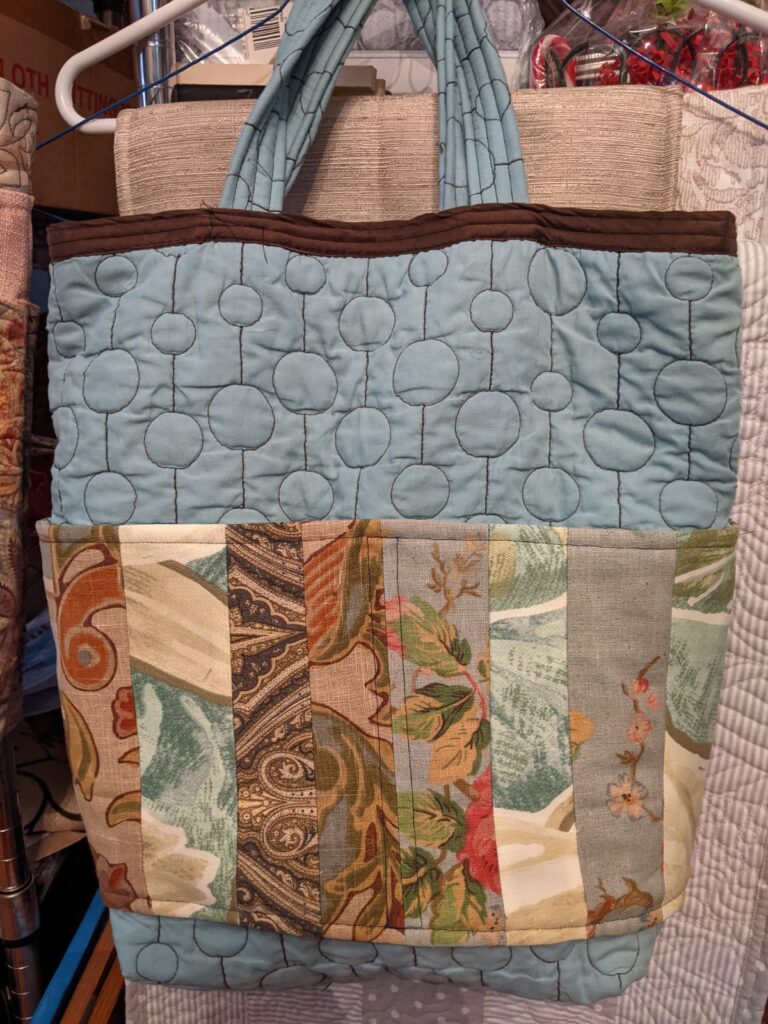
Every creation begins with selecting the perfect canvas – a high-quality piece of fabric. Whether it’s a tote bag, a cushion cover, or a piece of clothing, the fabric provides the foundation for my artwork. It’s like choosing the right paper for a watercolor painting.

Step 2: Setting Up the Sewing Machine

Next, I prepare my trusty sewing machine. Equipped with a special free motion foot, it’s ready to bring my ideas to life. I also lower the feed dogs, the mechanical teeth that typically move the fabric, to ensure complete control over the fabric’s movement.

Step 3: Design Inspiration

Inspiration can strike at any moment, and it often dictates the direction of my work. Whether I’m inspired by nature, geometric patterns, or a client’s unique request, I begin by sketching out the design concept.

Step 4: Selecting Thread

I choose threads that complement the fabric and design, creating a harmonious visual experience. The color and texture of the thread are like the brushstrokes in a painting.

Step 5: Practicing the Stitches

Before diving into the main project, I practice on a spare piece of fabric. This warm-up session helps me adjust to the fabric’s feel, experiment with stitch lengths, and clear my mind to make sure I am in the right headspace to connect to my machine.

Step 6: Bringing the Design to Life

With the design concept in mind and a practiced hand, I begin the real work. I lower the presser foot, start the machine, and gently guide the fabric, stitching in all directions. It’s akin to painting a picture, but with fabric and thread as my medium.

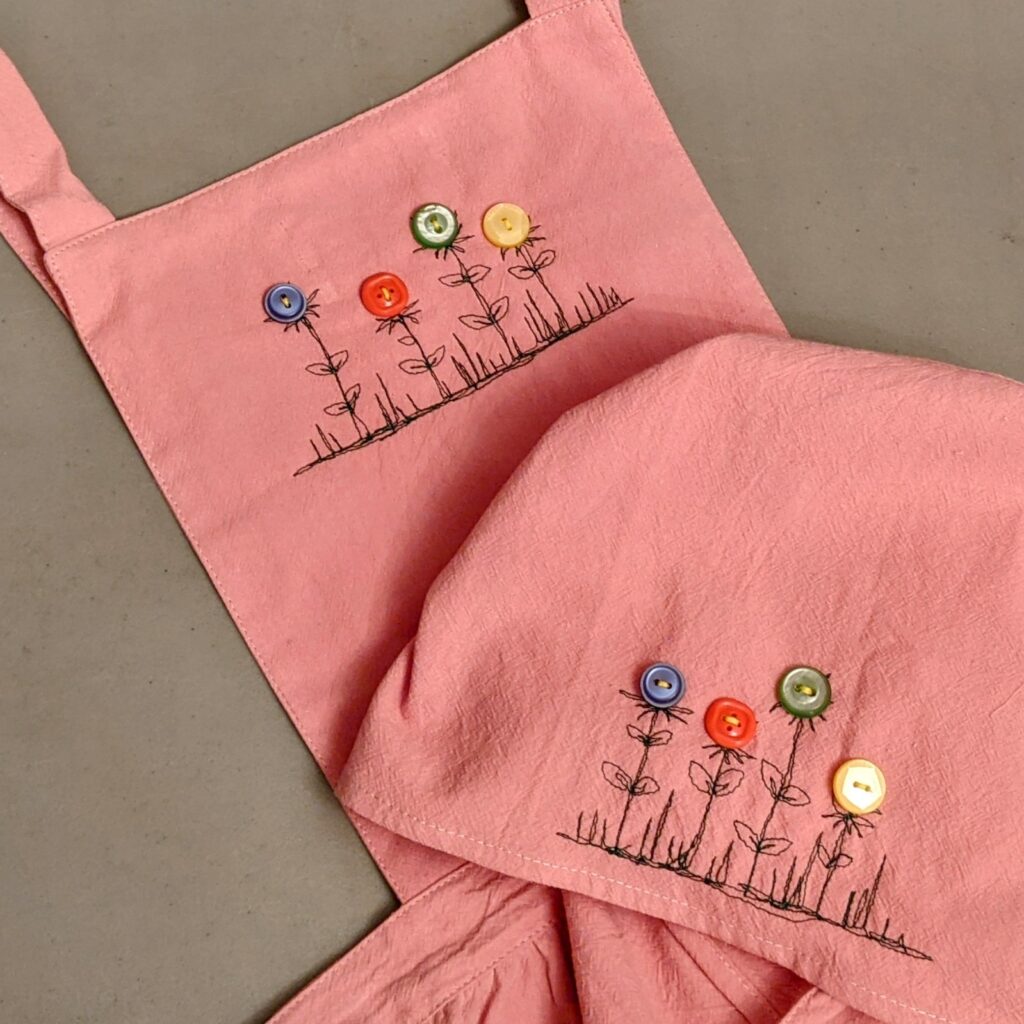
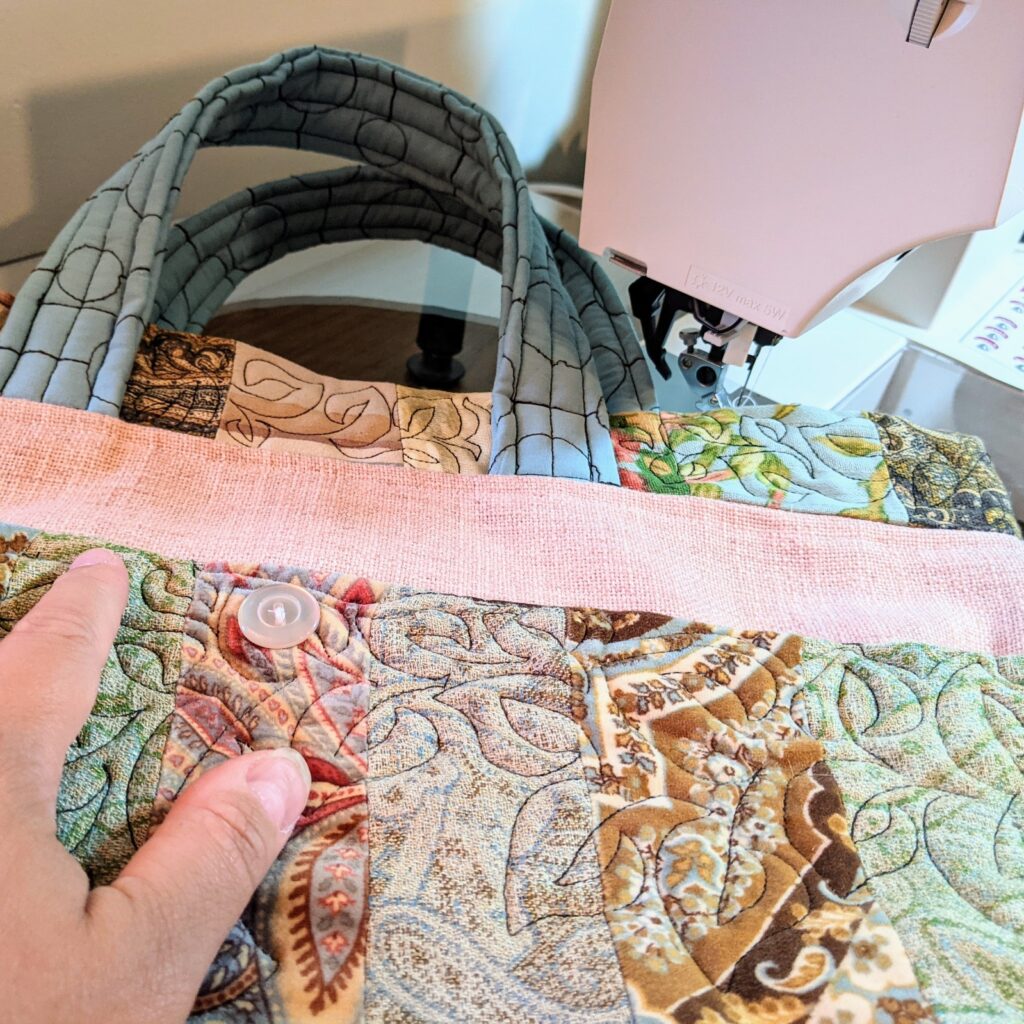
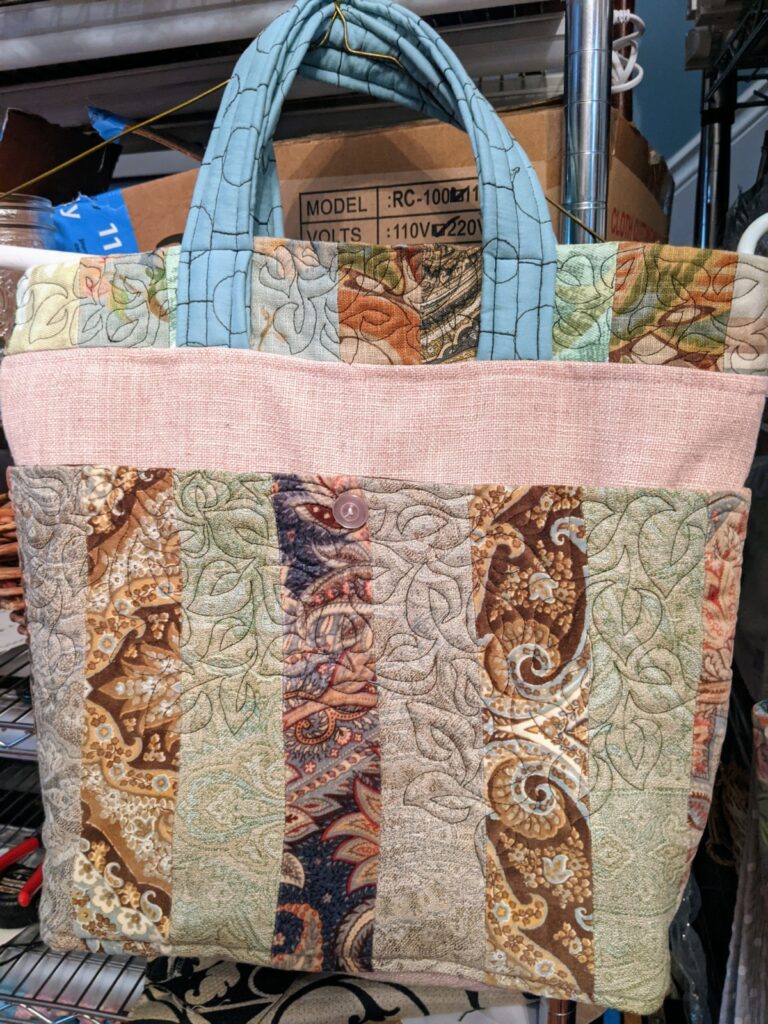
Aprons with free motion embroidery and buttons can be found in the shop

Step 7: Drawing with one line

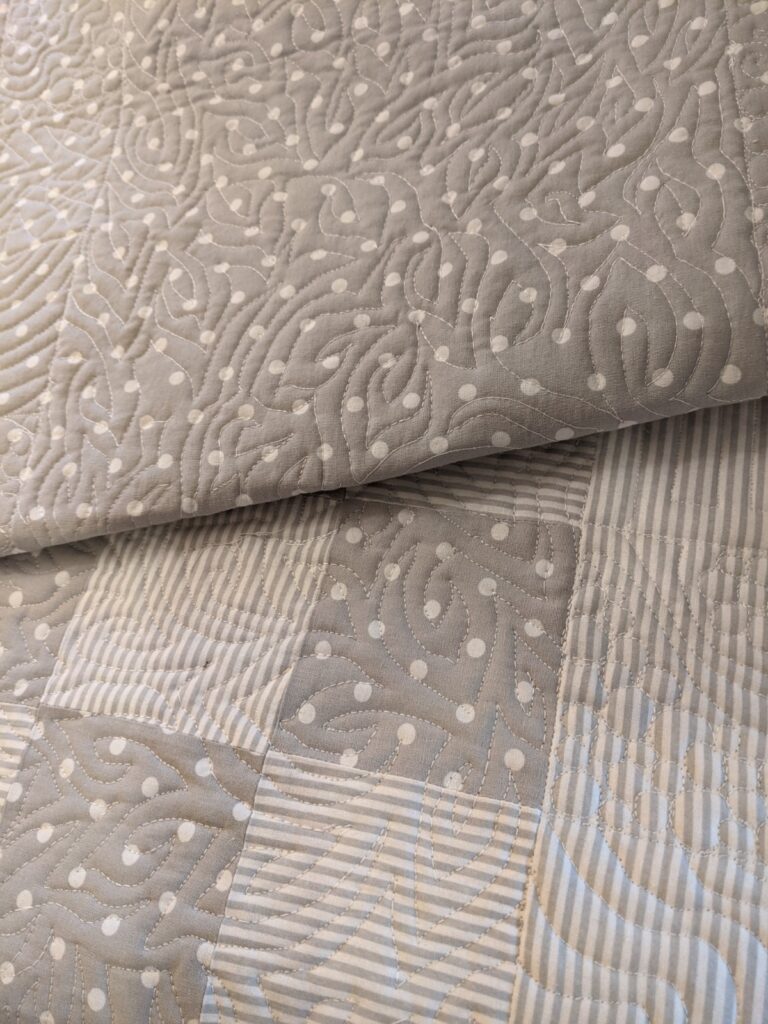
Free motion embroidery allows for intricate details, textures. Its all done with drawing one continuous line. Always thinking about the next step and not sewing yourself into a corner. This is where the magic truly happens, turning a simple piece of fabric into a work of art.
Step 8: Finishing Touches

Once the design is complete, I ensure that all loose threads are secured, and the fabric is well-tended to. It’s essential that my products are not only visually stunning but also durable and ready to withstand everyday use.

Conclusion

Free motion embroidery is the heart and soul of the products I create. Each piece is a labor of love, where artistic inspiration and skilled craftsmanship come together to form unique and personalized textile art. Whether you’re looking for a custom-made gift or a one-of-a-kind addition to your home decor, my creations embody the magic of free motion embroidery. Each stitch tells a story, and I hope that my work brings joy and beauty into your life. Thank you for supporting handmade artistry!

You can find some of my works in progress on my instagram page.

Posted on

Beautiful projects from a quilters stash

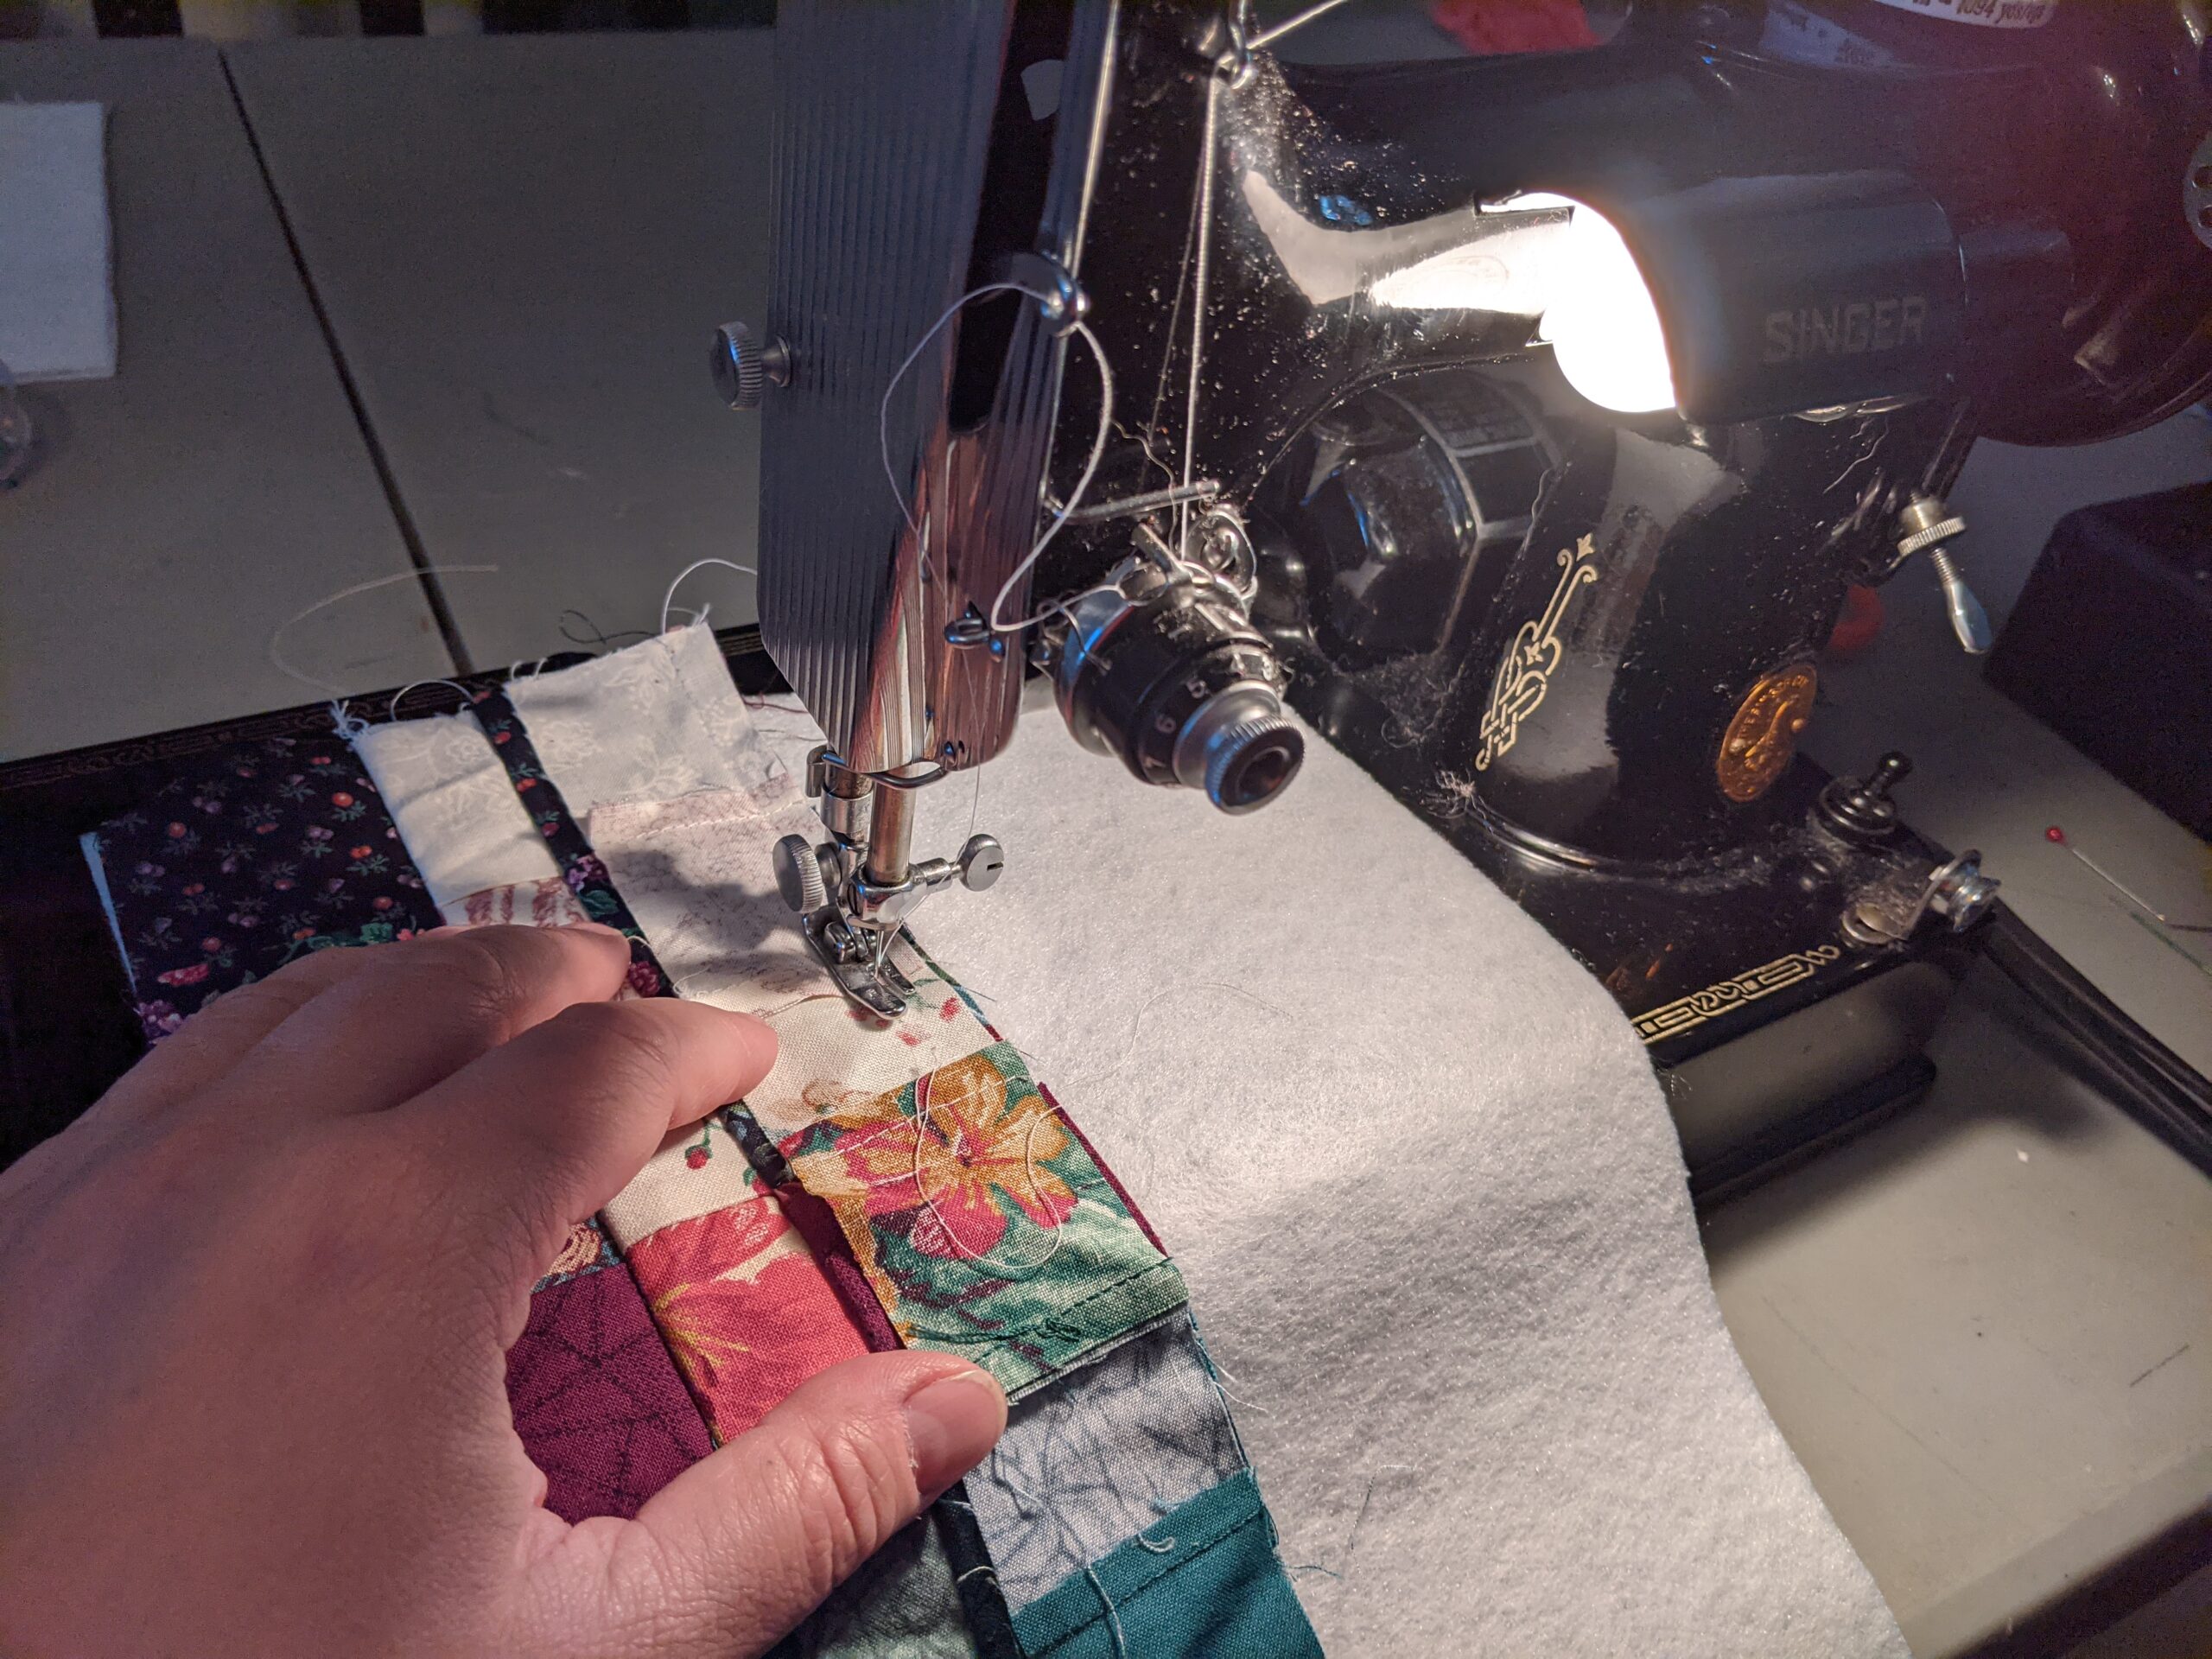
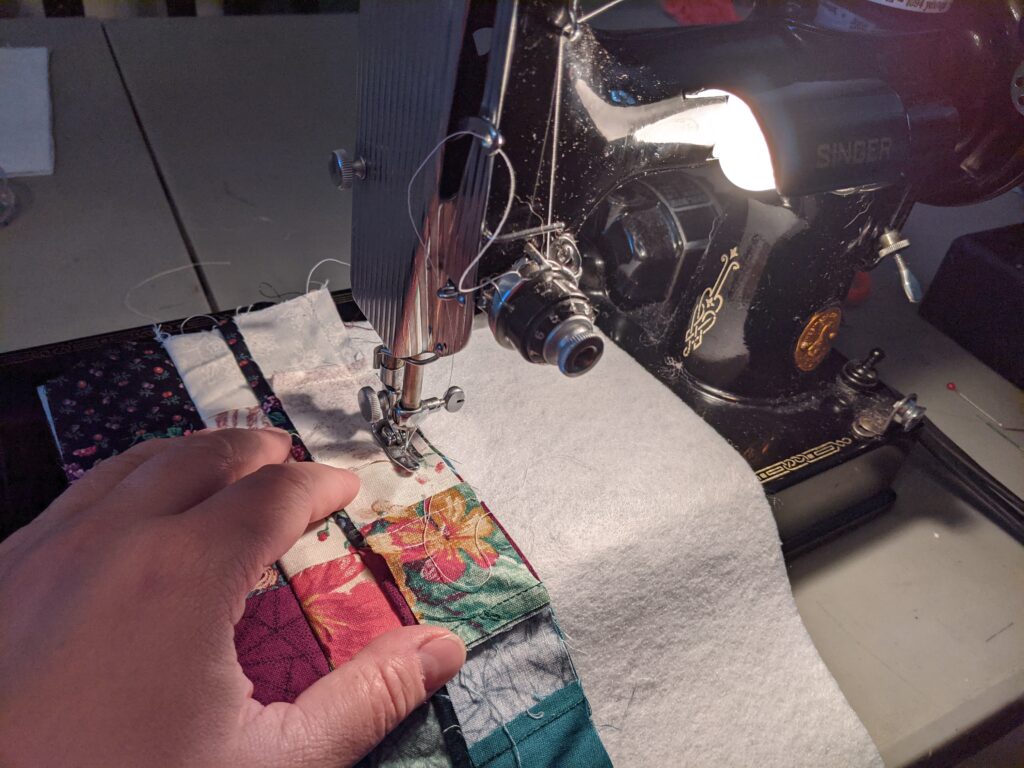
Featherweight Singer sewing machine

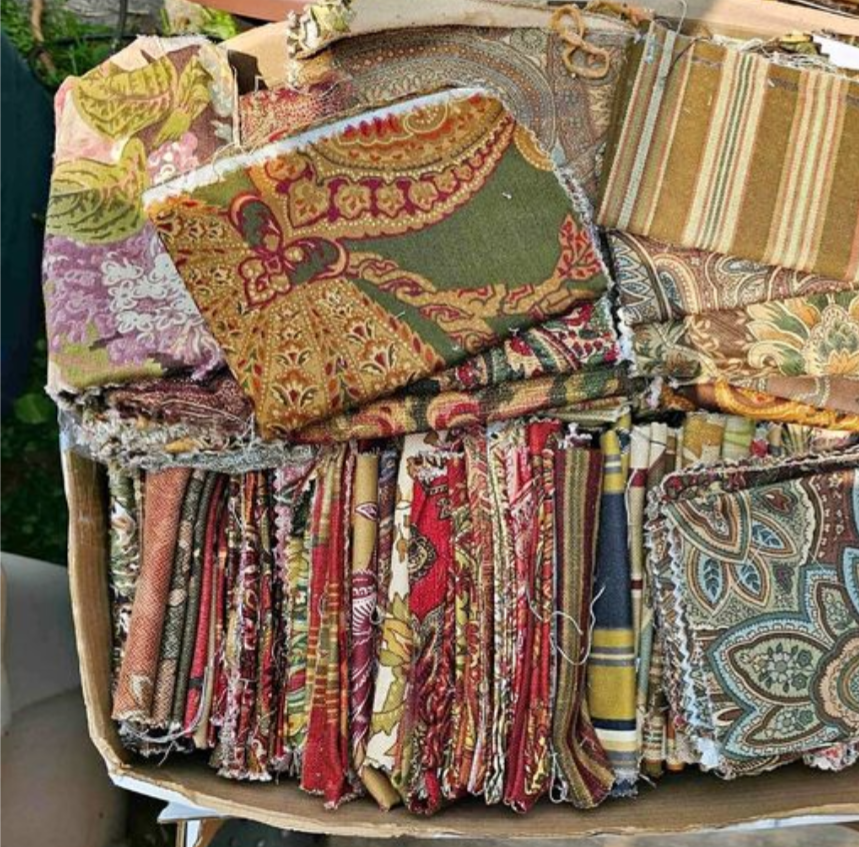
I put out the universe that I needed a pile of scraps so I could try doing free motion applique. To do applique you need a stash of lots of colors and prints to be able to color in the picture you wish to create. My stash is lacking. So I made a wish in my heart for scraps to find their way to me. 

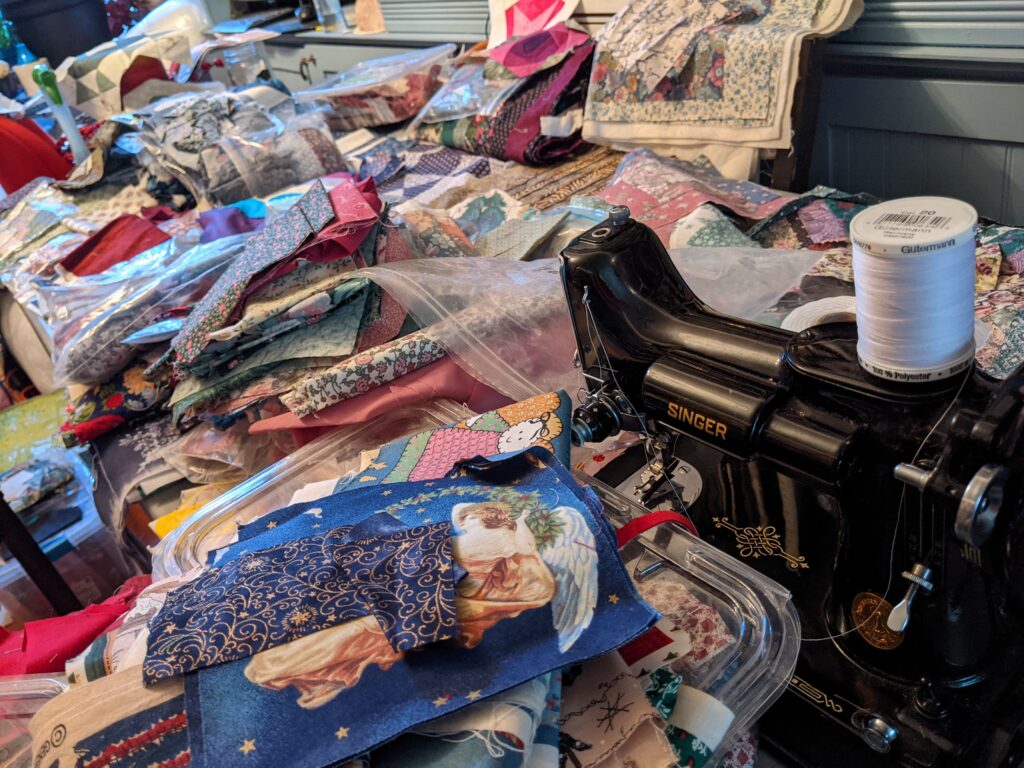
Not too long after my dreams were answered! A fellow member of a small quilt group was given a woman’s fabric collection from her craft room. It had little nuggets of UFO (unfinished object) sprinkled in the pile. She offered it to us. I scooped up all the little pieces- I was thrilled! When I got home and saw the pile of little tiny pieces of bits and bobs and for the most part, no piece that was bigger than 3 inches- I asked myself “What did I get myself into?”– I am clearly crazy. 

Daunted by this huge pile, I pulled out one color grouping. It is burgundy and green. She clearly had done a quilt in this grouping of fabric. There were some sections of strips of fabric sewn together left. And come selvedge irregular ends of the sewn together strips. 

I have a new puppy who needs lots of attention so I wanted to do some sewing in the living room. (my main sewing machine is set up in a sewing room that puppies are not allowed in)  I bought an antique sewing machine a year ago. Its FeatherWeight Singer sewing machine from 1929. The same kind of sewing machine my mother owned as I grew up. In my early days I learned to sew my doll clothes on it. So it was a passion purchase but I had never pulled it out of the case to actually use. I decided this was the perfect excuse to do so. 

I am a really good sewer, but every machine has its own personality. With this Singer sewing machine I I hit a learning curve on how it handles. It feels so different to use. It is lovely and I got the hang of it. It will just take time to get to where I use it without needing to think about it. 

I pieced most of my projects together with the antique machine but when I wanted to do the top stitching and quilt it I wanted to use my Pfaff. It has many features that just make sewing easier and I am more confident using it.  Some features include: a wider neck to fit the projects in and a walking foot to feed the quilting stuff through. 

Since I didn’t have large pieces of fabric and I didnt use any other fabrics other than what was in this stash, I think my projects may be a bit busy. But I am deciding to not overthink it. And definitely feel that shopping for more matching fabric destroys the whole point of the scrapy project.  

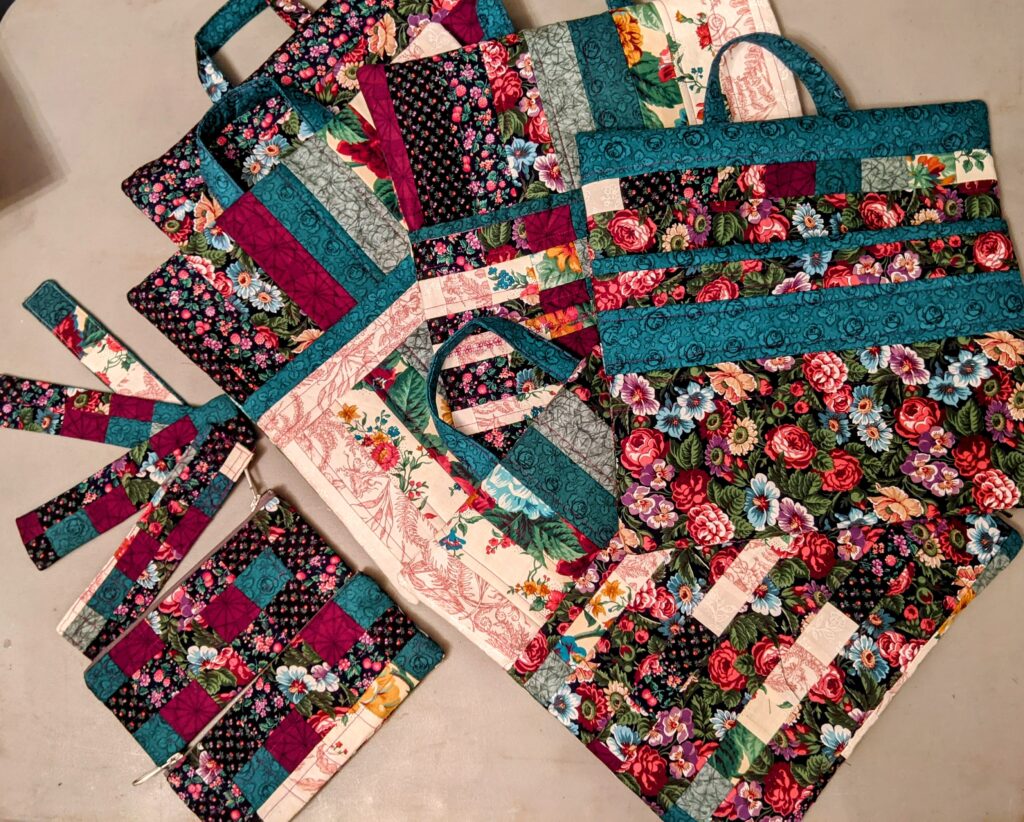
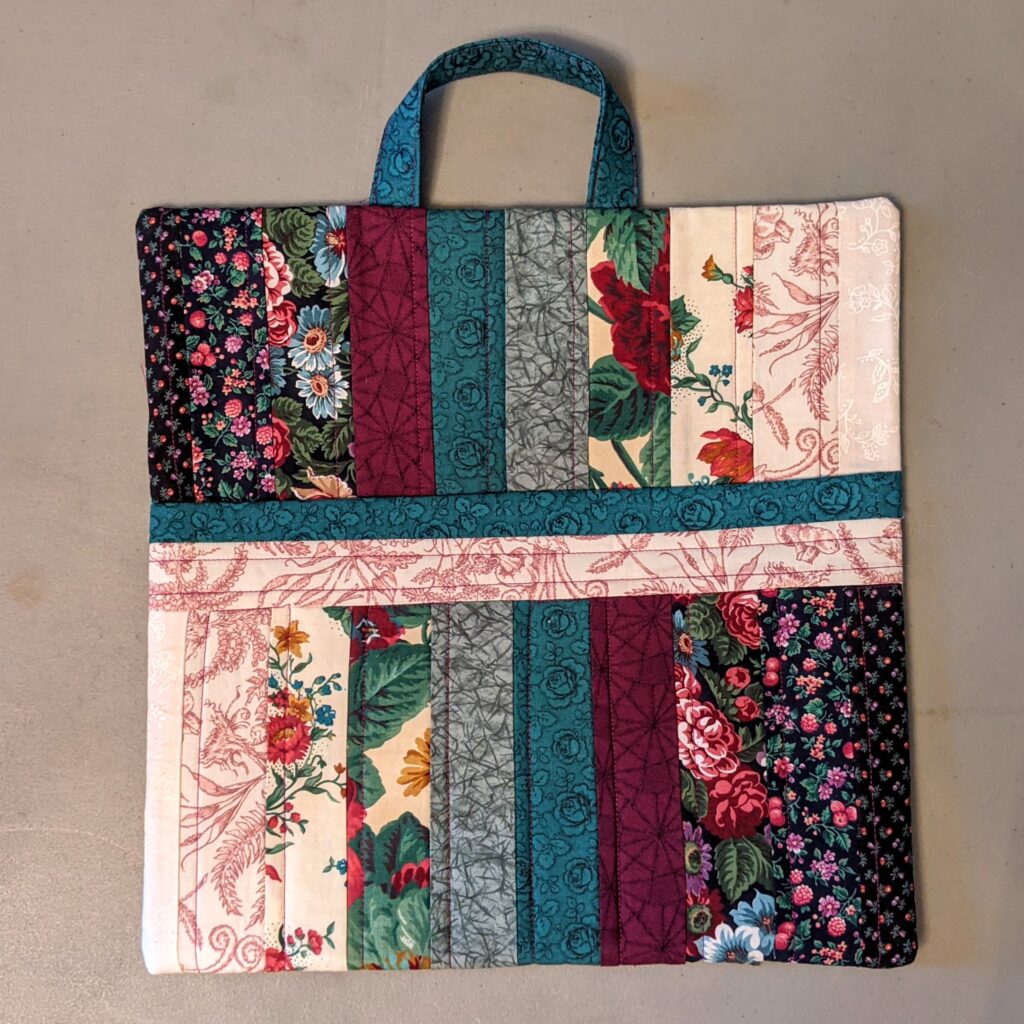
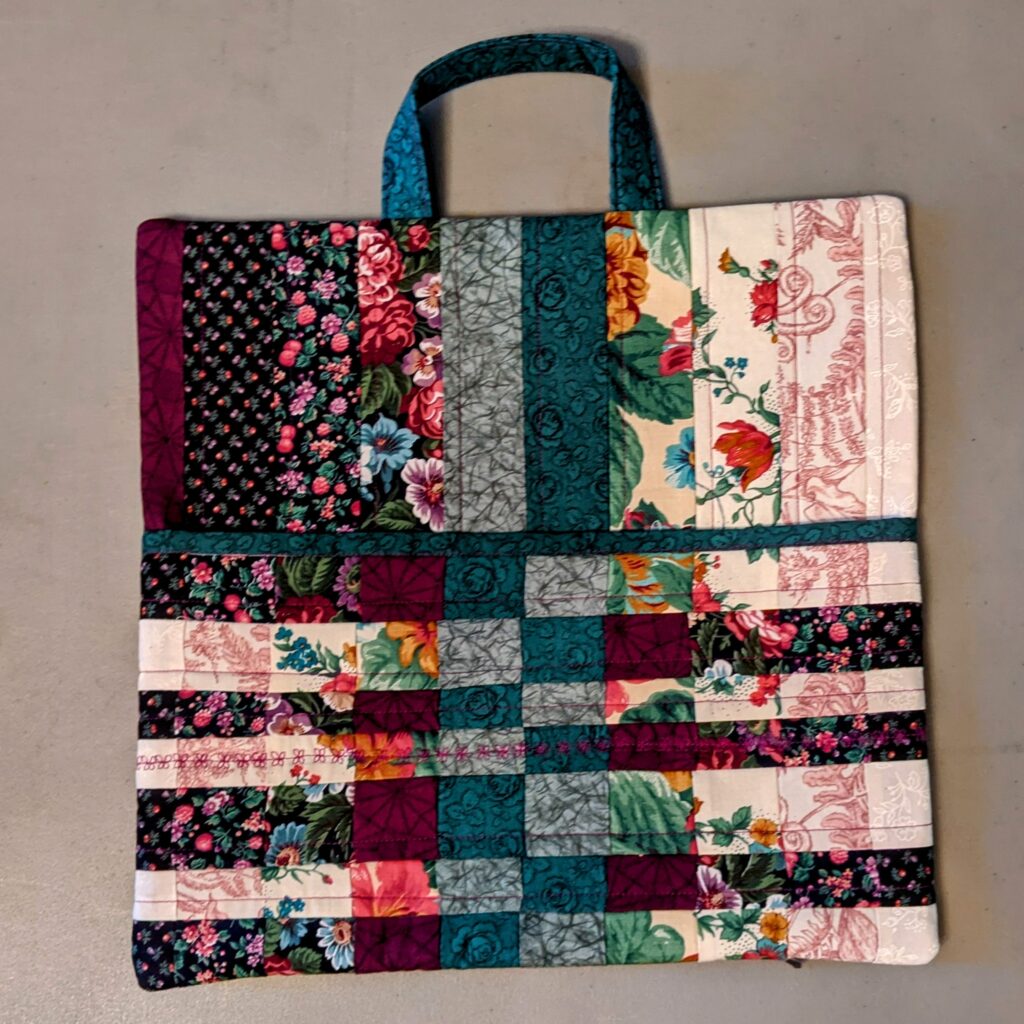
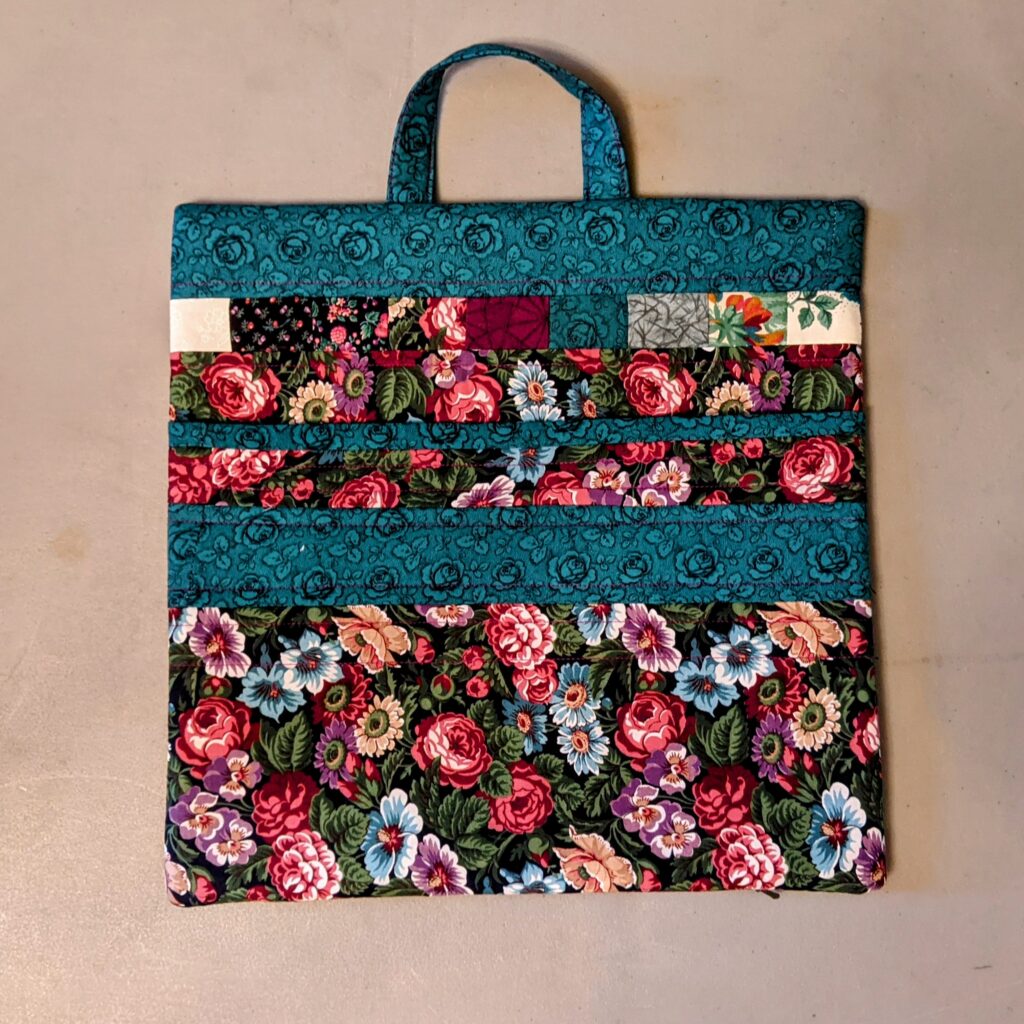
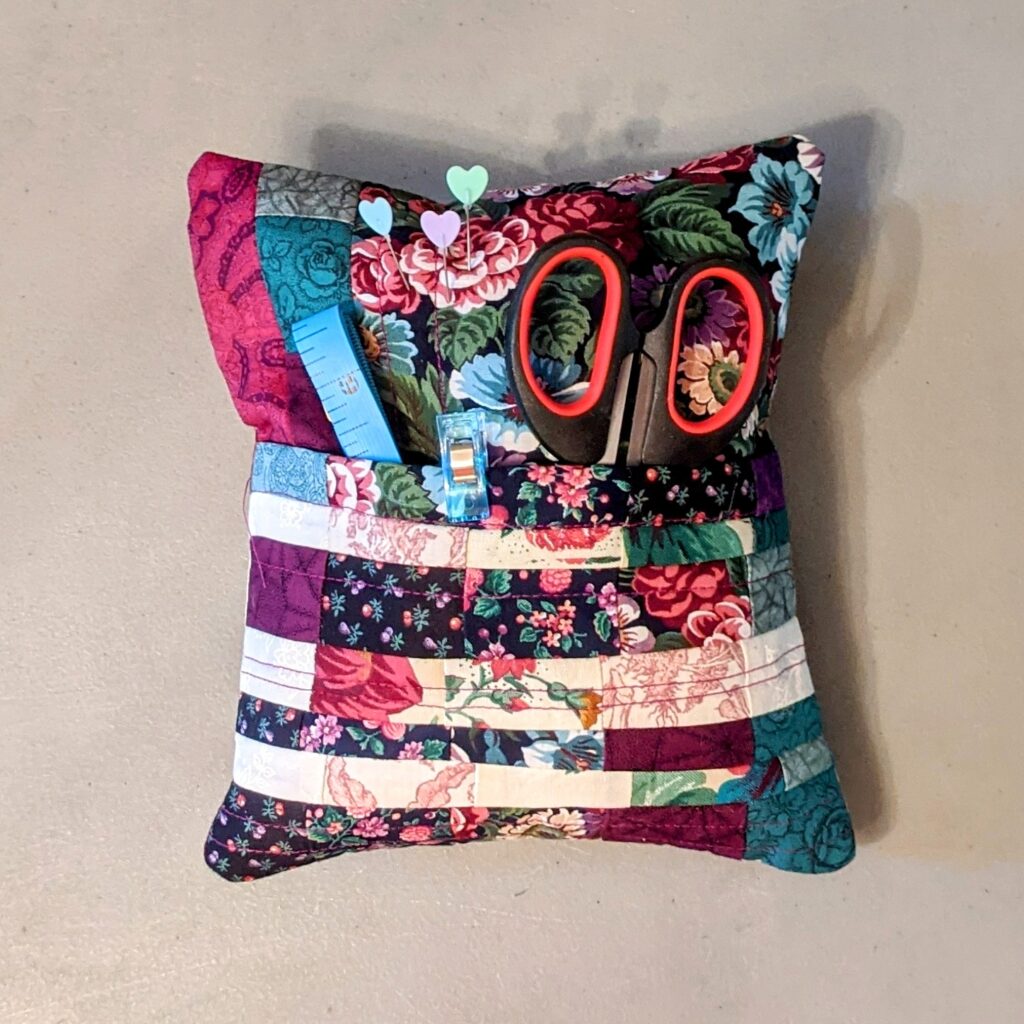
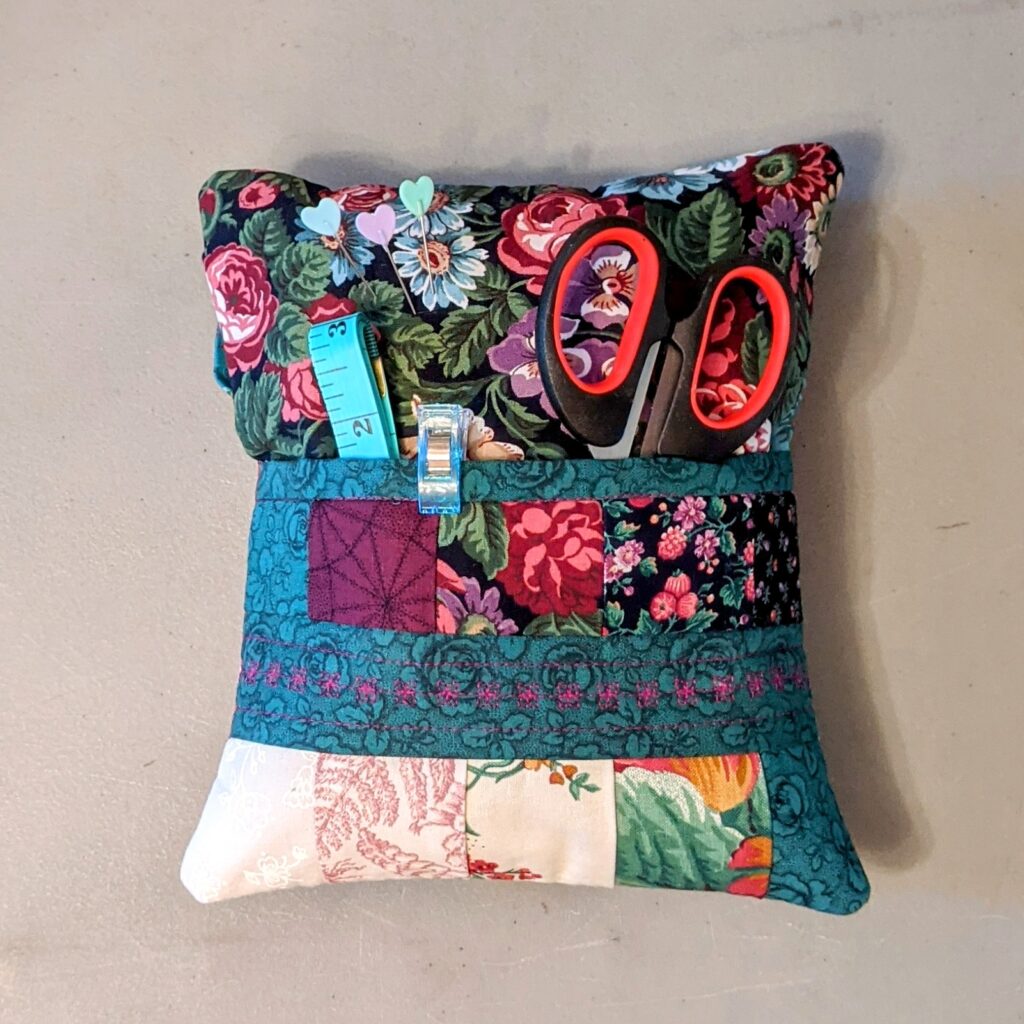
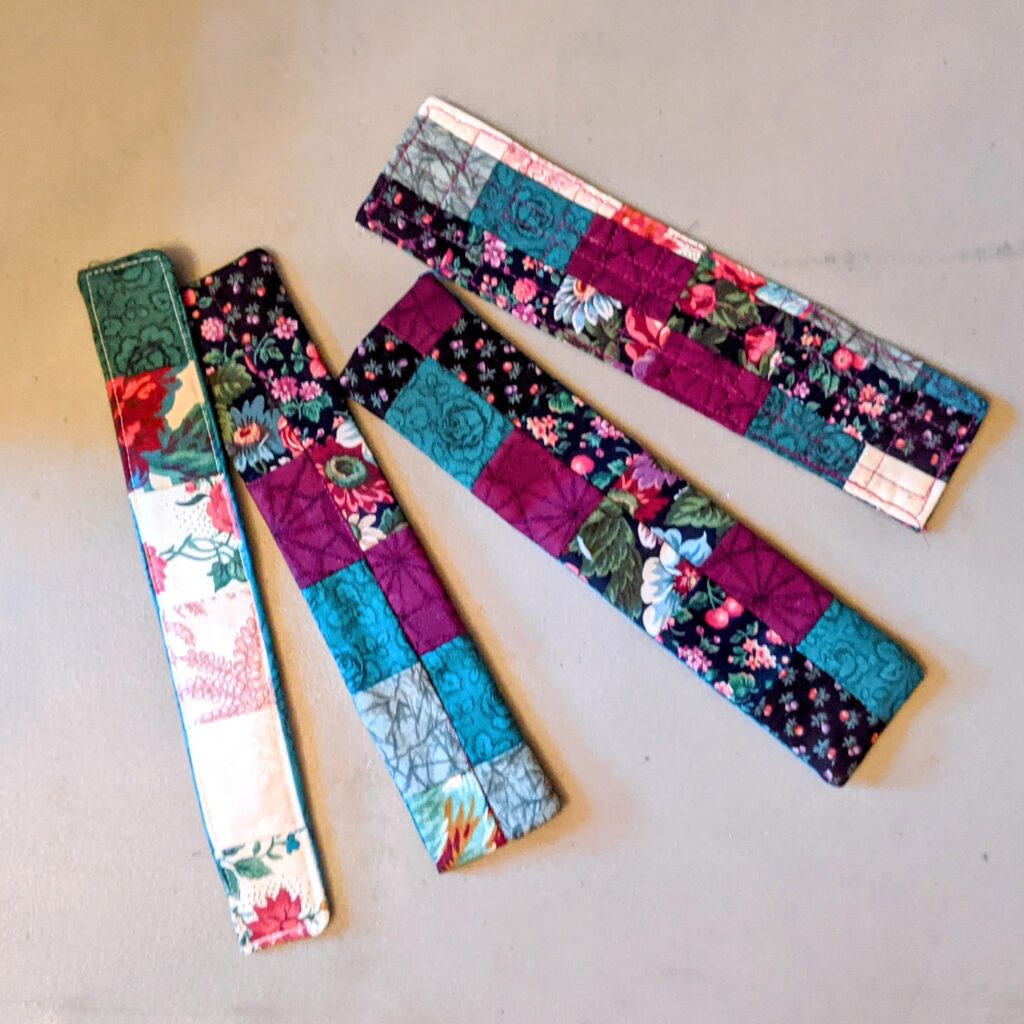
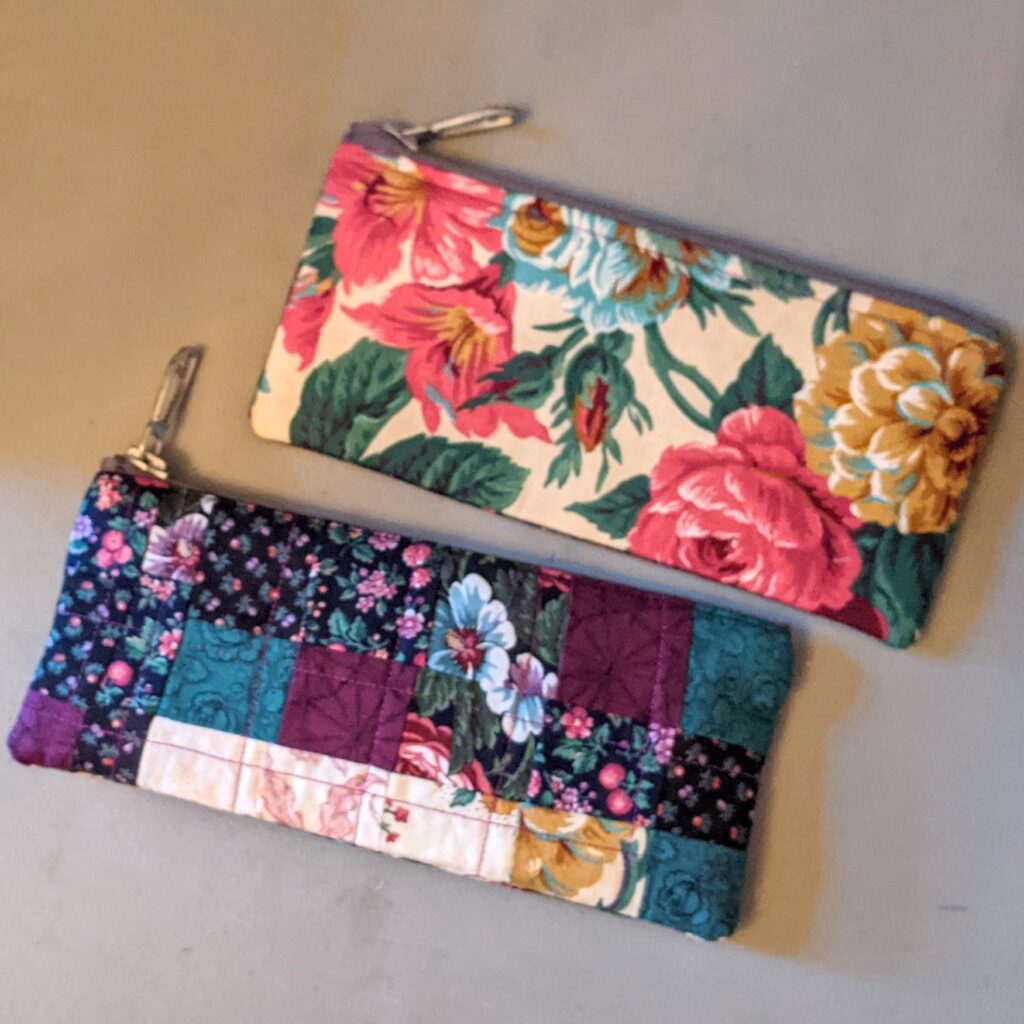
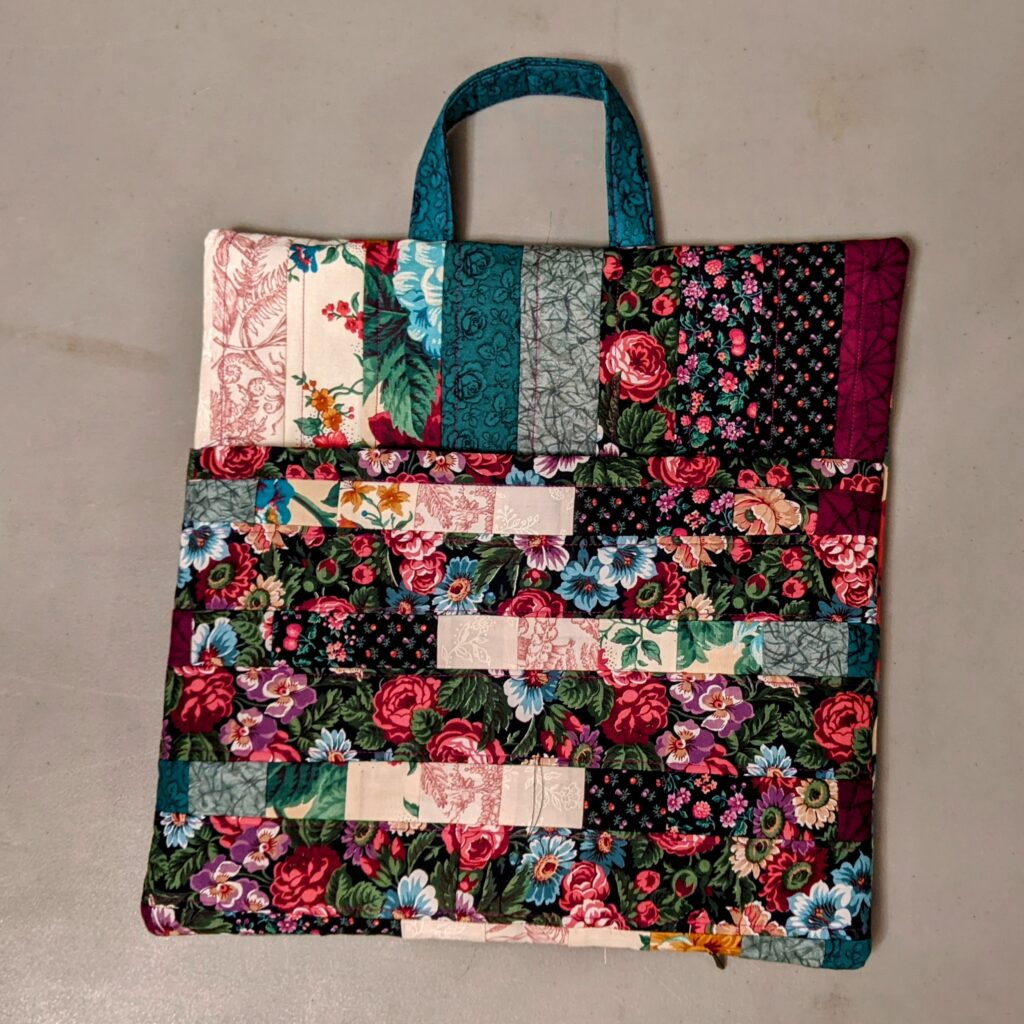
I created 5 Reading pocket pillows 14 x 14. 2 pencil pouches and 4 book marks. (And two mini pillows – sewing pocket pincushions- not finished yet so not shown here). the bookmarks need some tassels – so not finished yet either.

It took me two days to complete this so far. I am really proud of myself for using almost every last scrap of fabric into usable products. Practically no waste whatsoever.  I imagine the original sewer would be really happy that their UFOs found their way into the world. Such a good girl, right? …but didnt I just forget what my original wish was? I didn’t leave any fabric scraps big enough of being worthy of doing an applique!!!! Can you believe it!!!

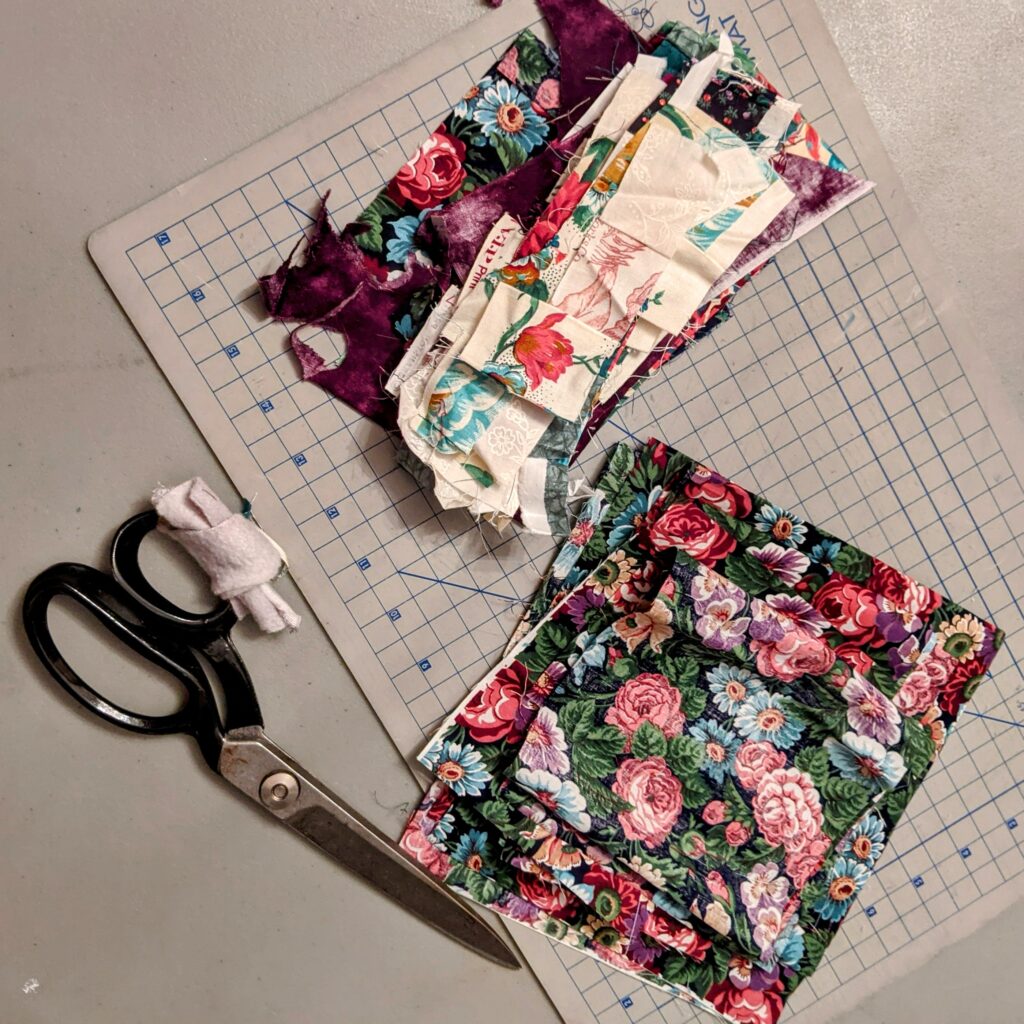
Here is the small pile of what is left.

Next is to give the a the projects a final pressing. And of course as I was turning them right side out one of the invisible zipper busts! UGH, so I have to rip one out and rework it all over. So it is not done… sigh. I was really ready to be done with this project. Once I do that I’ll get them all ready for a proper photoshoot and then list them for sale in the cushions section.

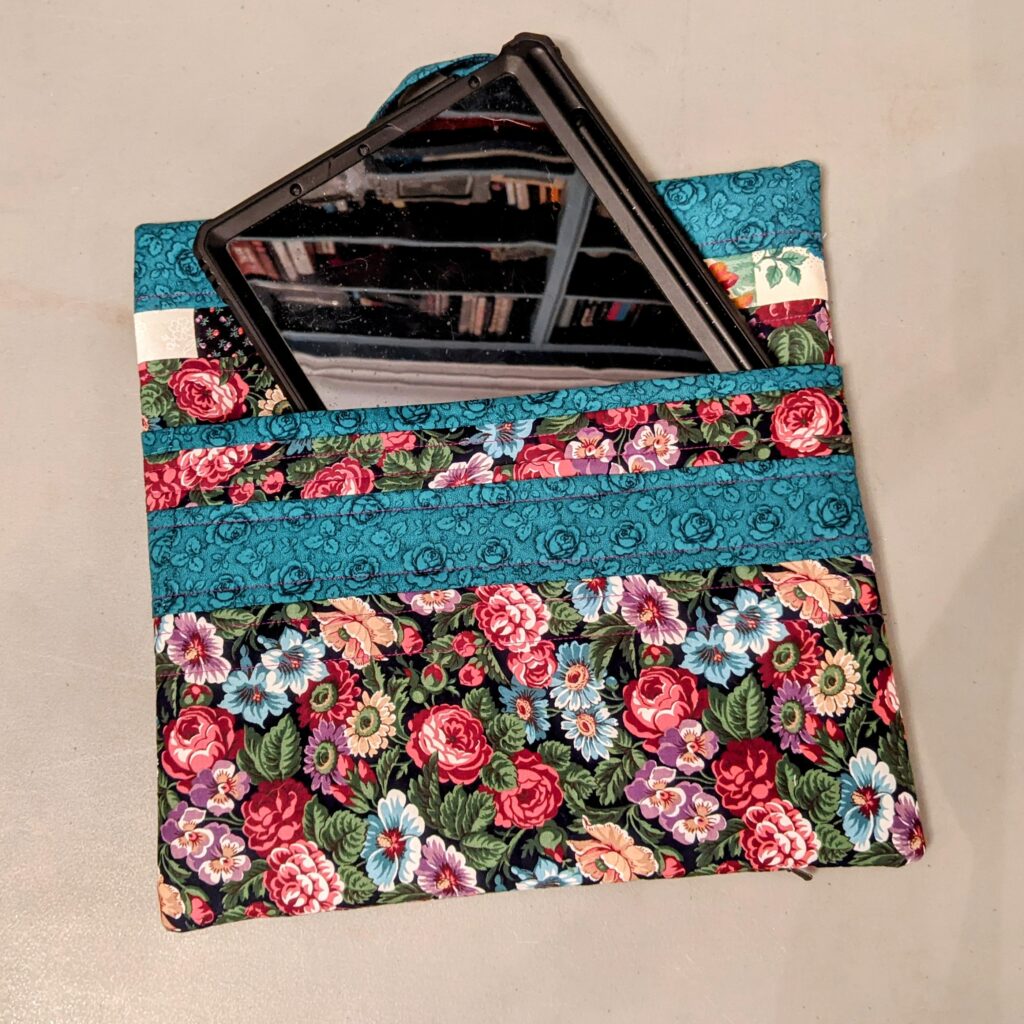
Here are the Reading Pocket pillows before being pressed and stuffed. It has my Ipad in it to show how nicely it will fit.