Posted on

Crafting Magic: Unveiling the Art of Free Motion Embroidery

Introduction

In the realm of textile artistry, there’s a technique that allows for boundless creativity and personal expression. It’s called “free motion embroidery,” and it’s the magic behind some of the products you see here. In this blog post, we’ll dive into the fascinating world of free motion embroidery and how it’s employed to create the unique and intricate pieces you find in my collection.

What is Free Motion Embroidery?

Free motion embroidery is an artful fusion of sewing and drawing, using a sewing machine as your brush and fabric as your canvas. Unlike traditional sewing, where the machine moves the fabric for you, free motion embroidery puts you in control. You guide the fabric manually, allowing for artistic freedom and spontaneity in your designs.

How I Create My Products

Step 1: Preparing the “Canvas”

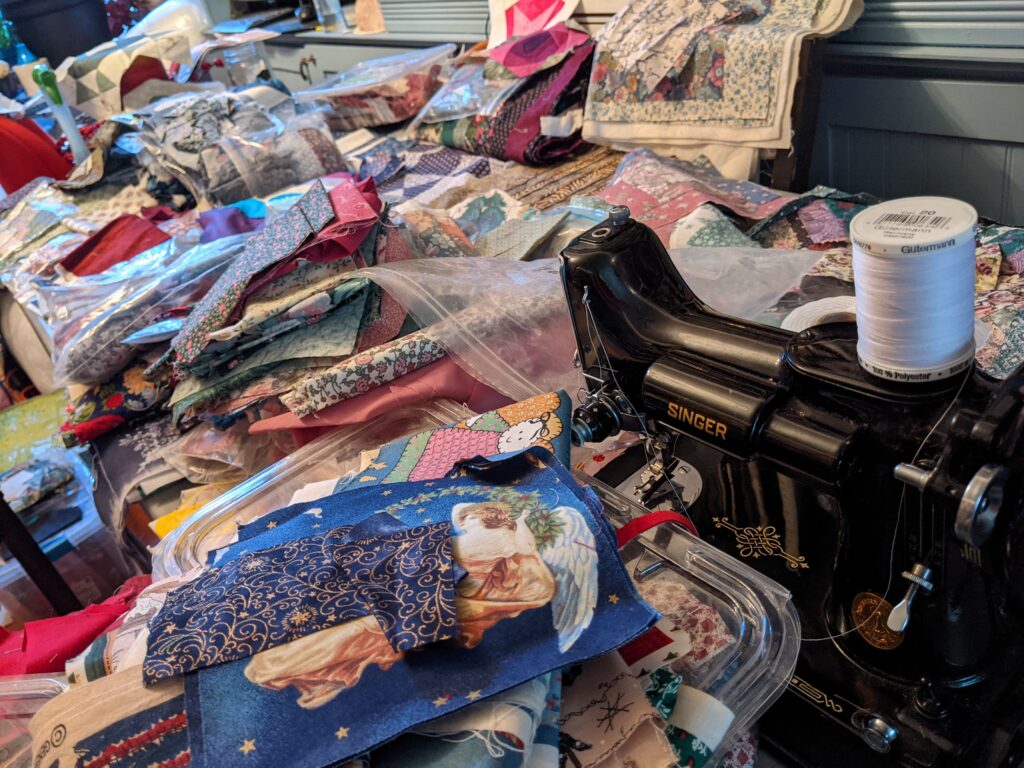
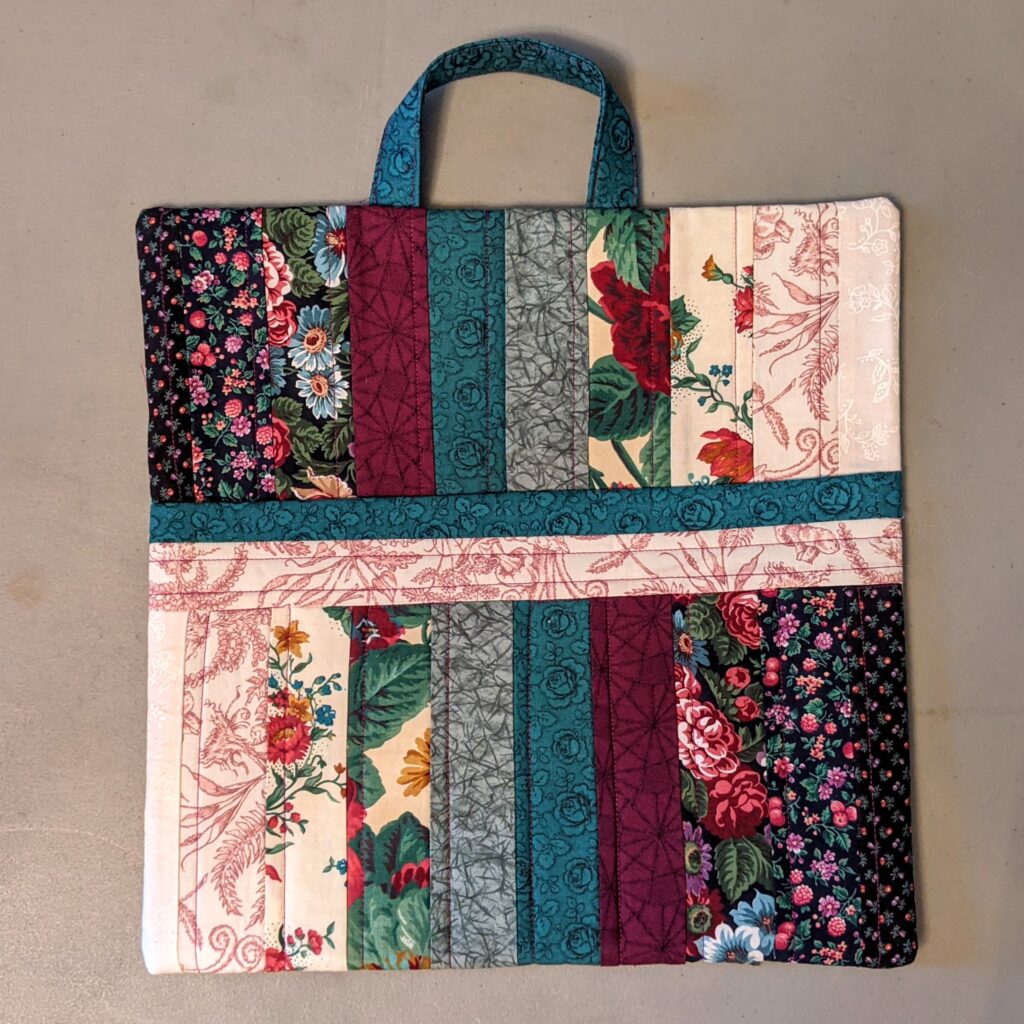
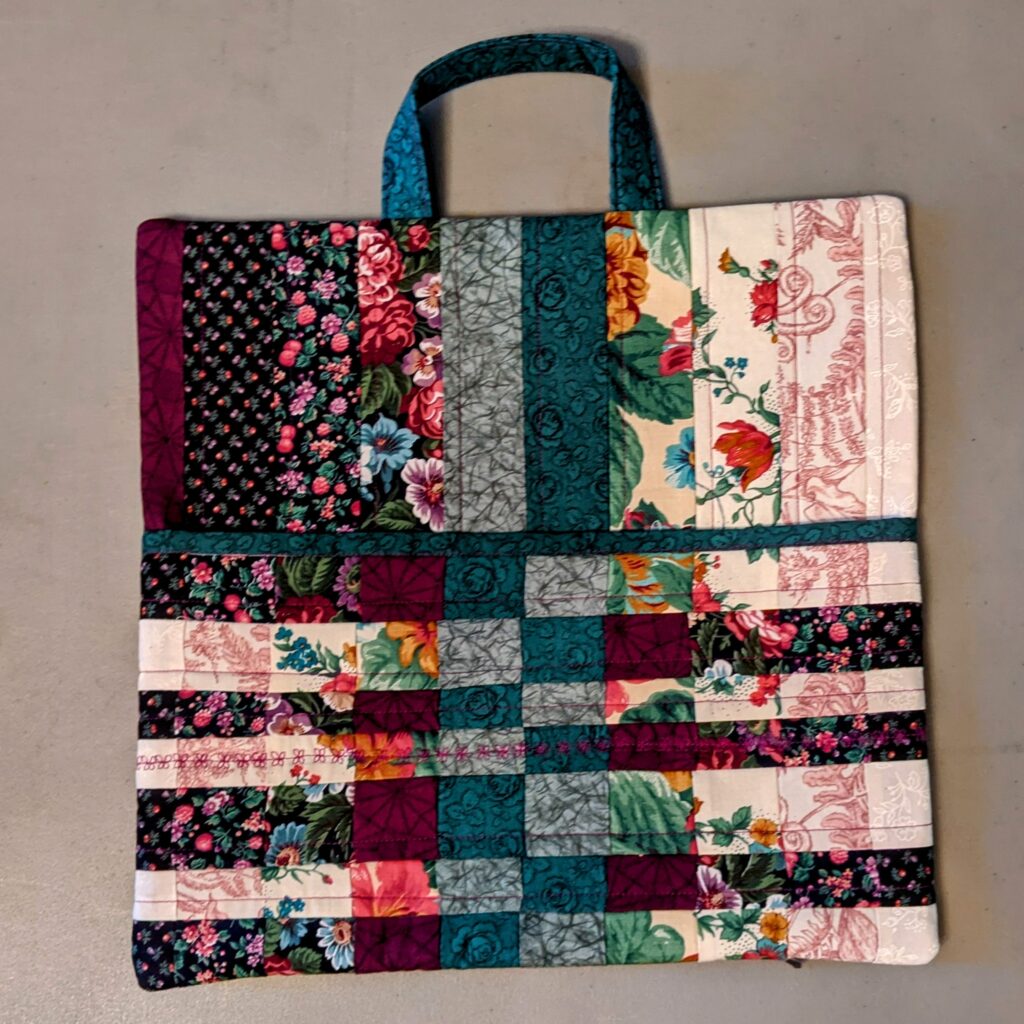
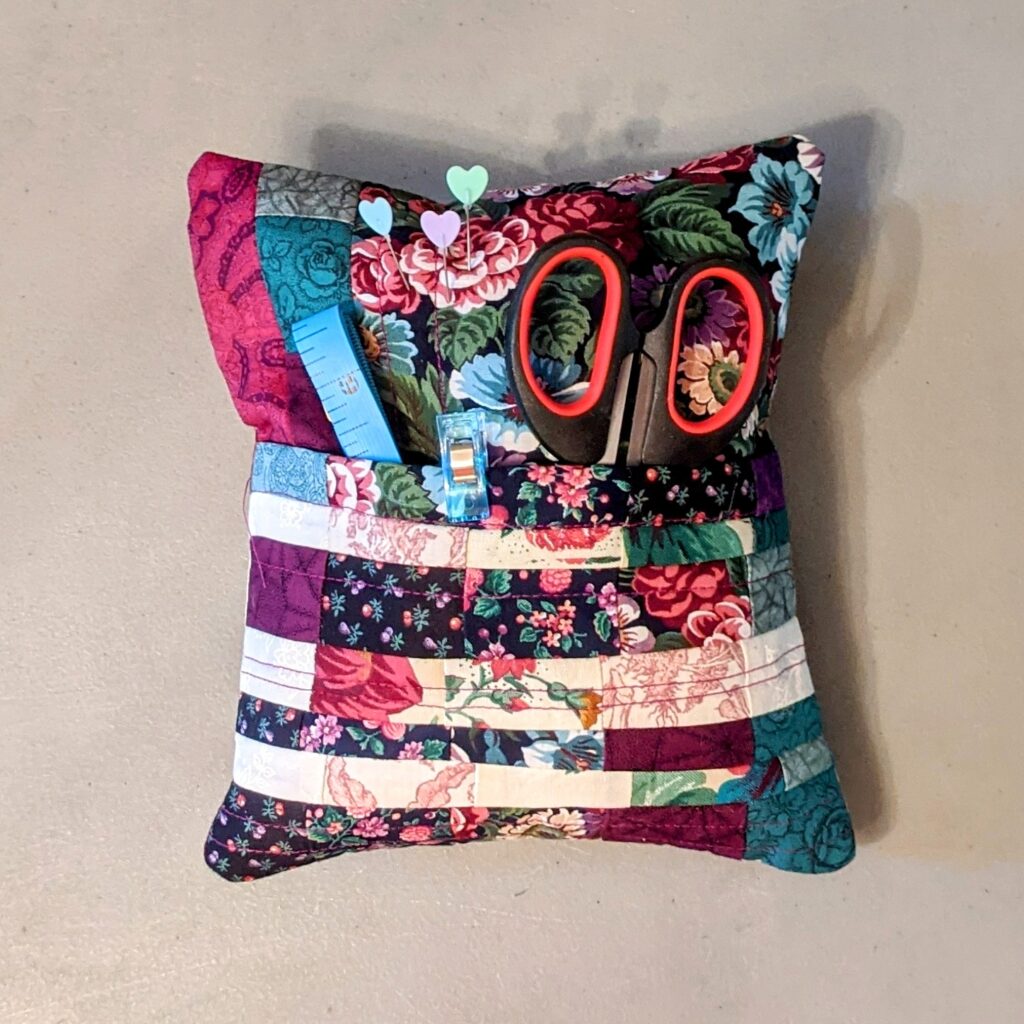
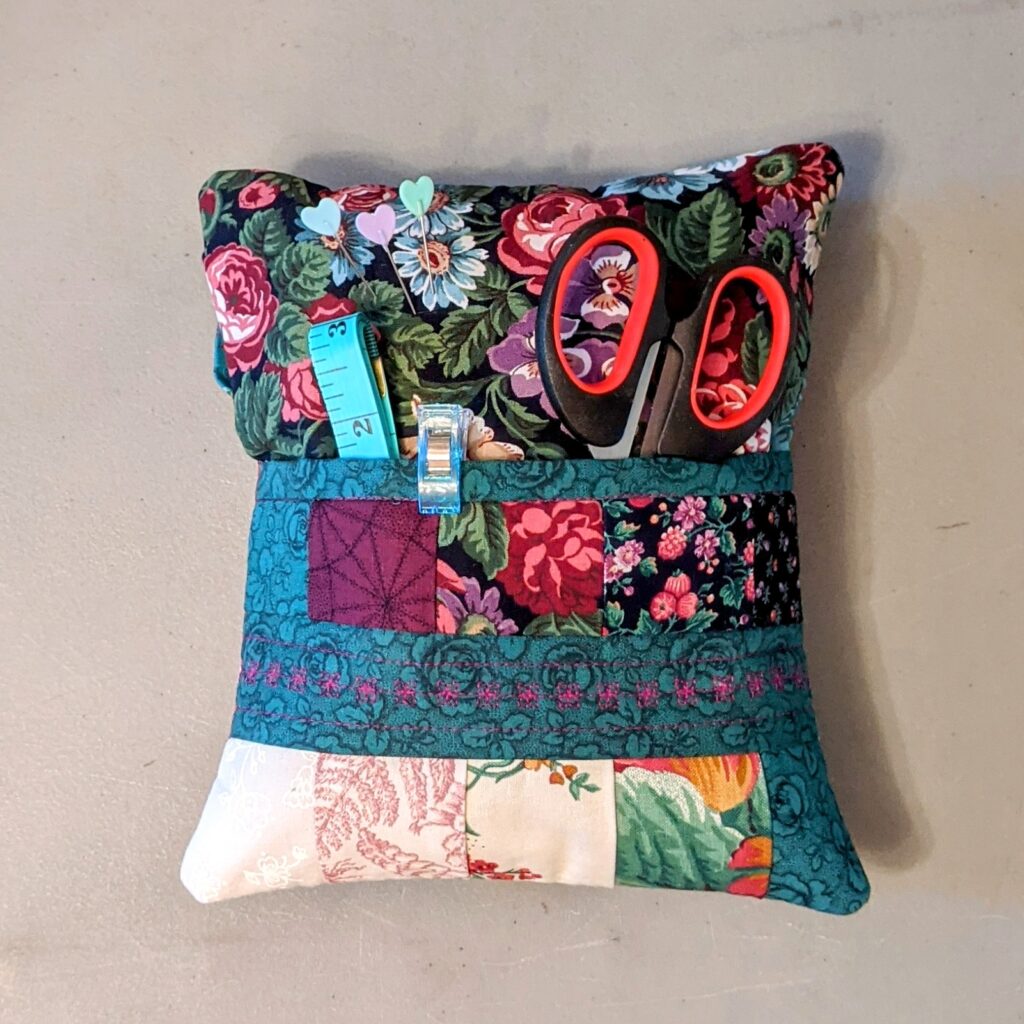
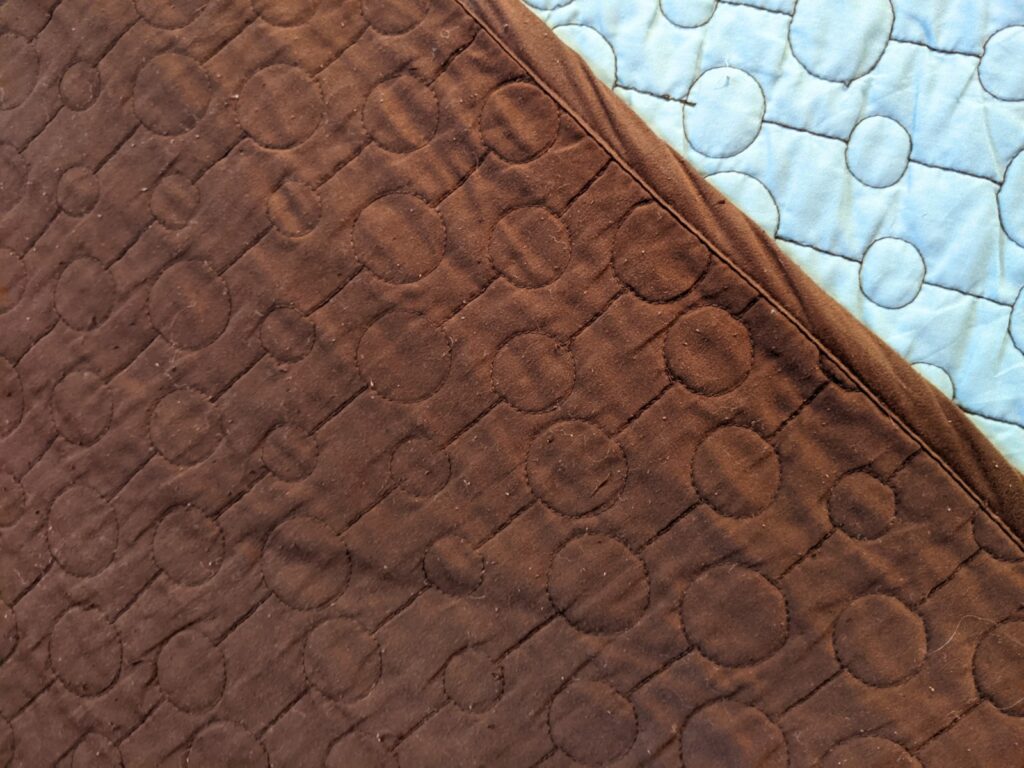
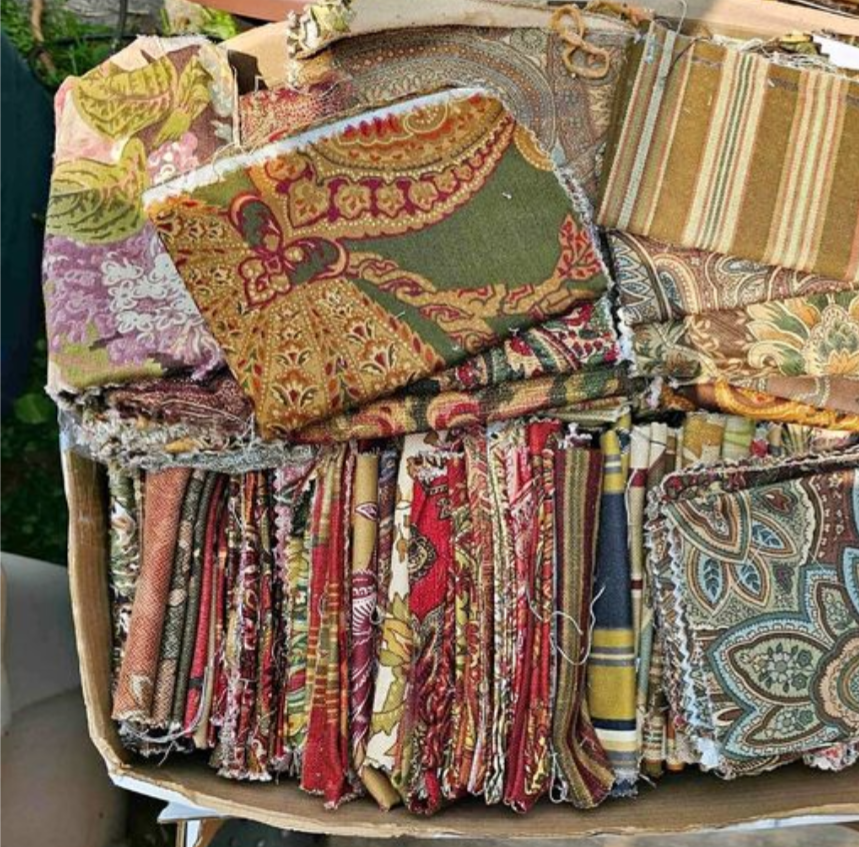
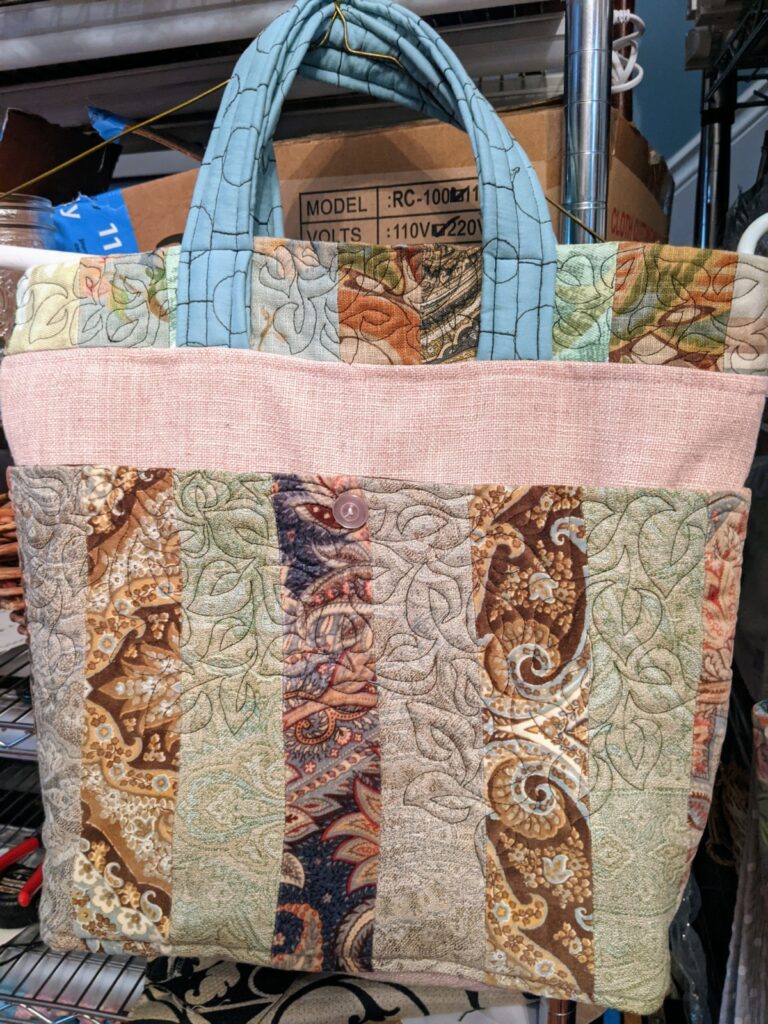
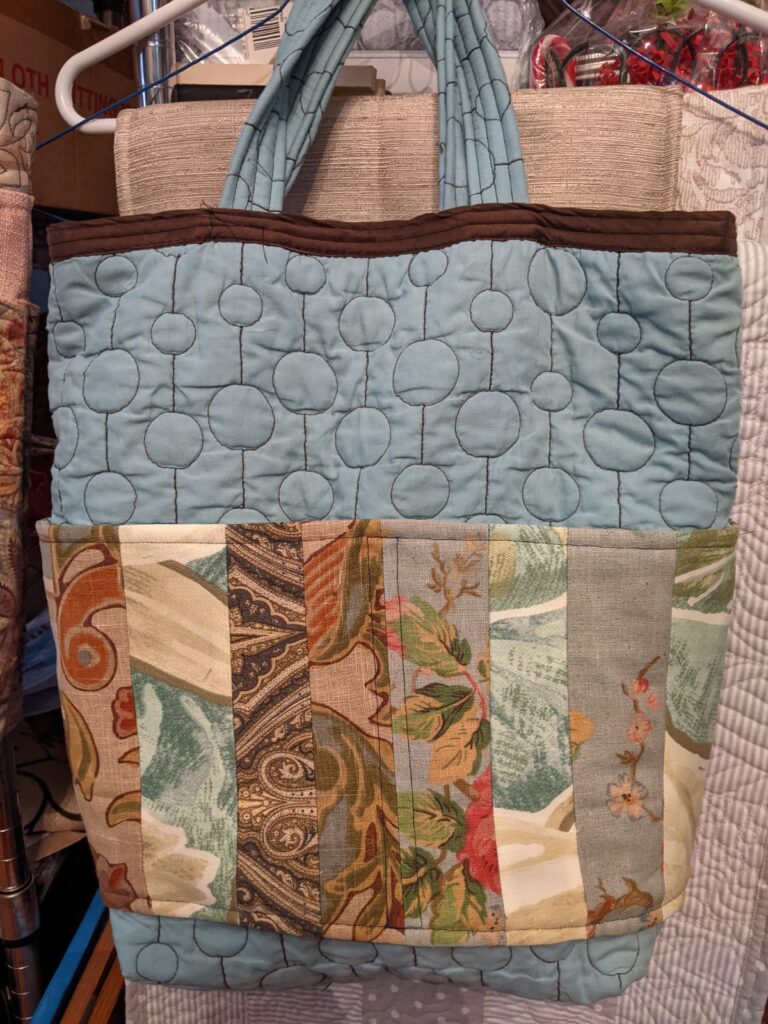
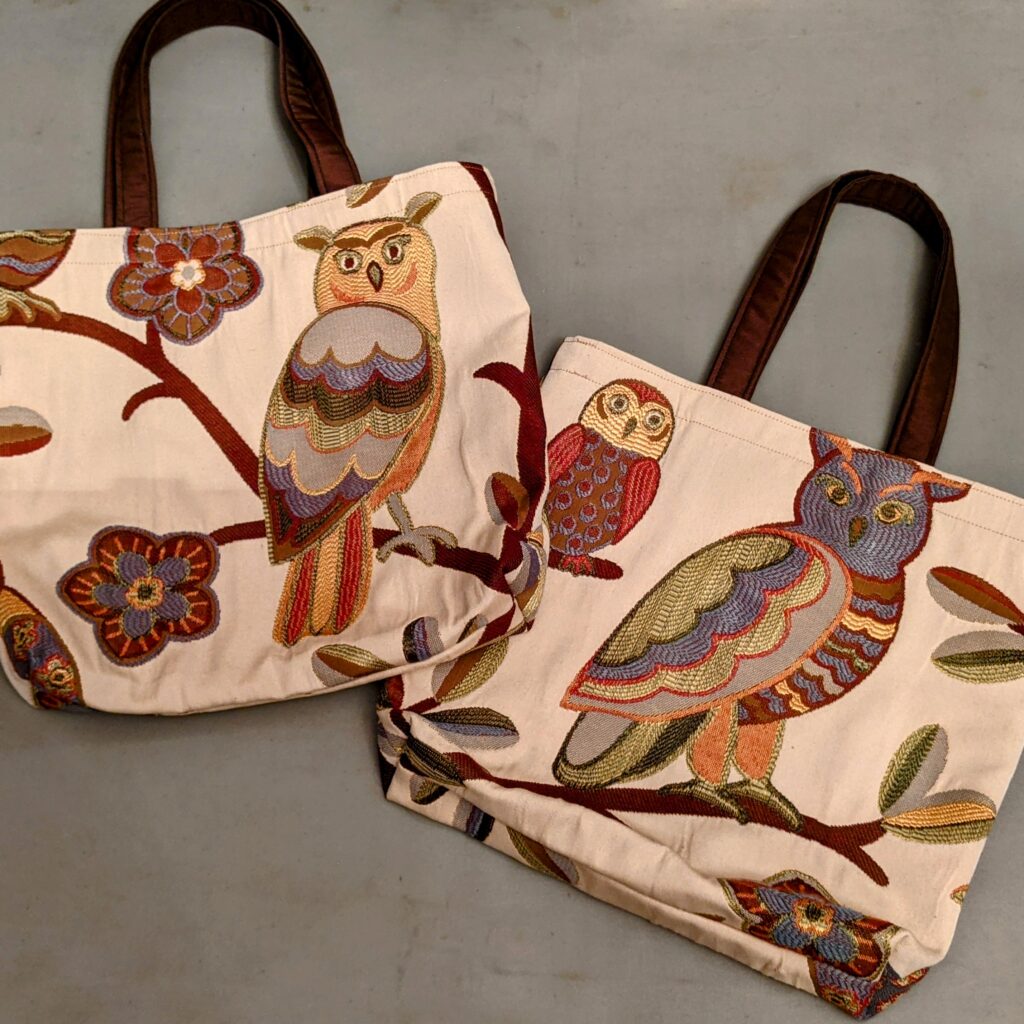
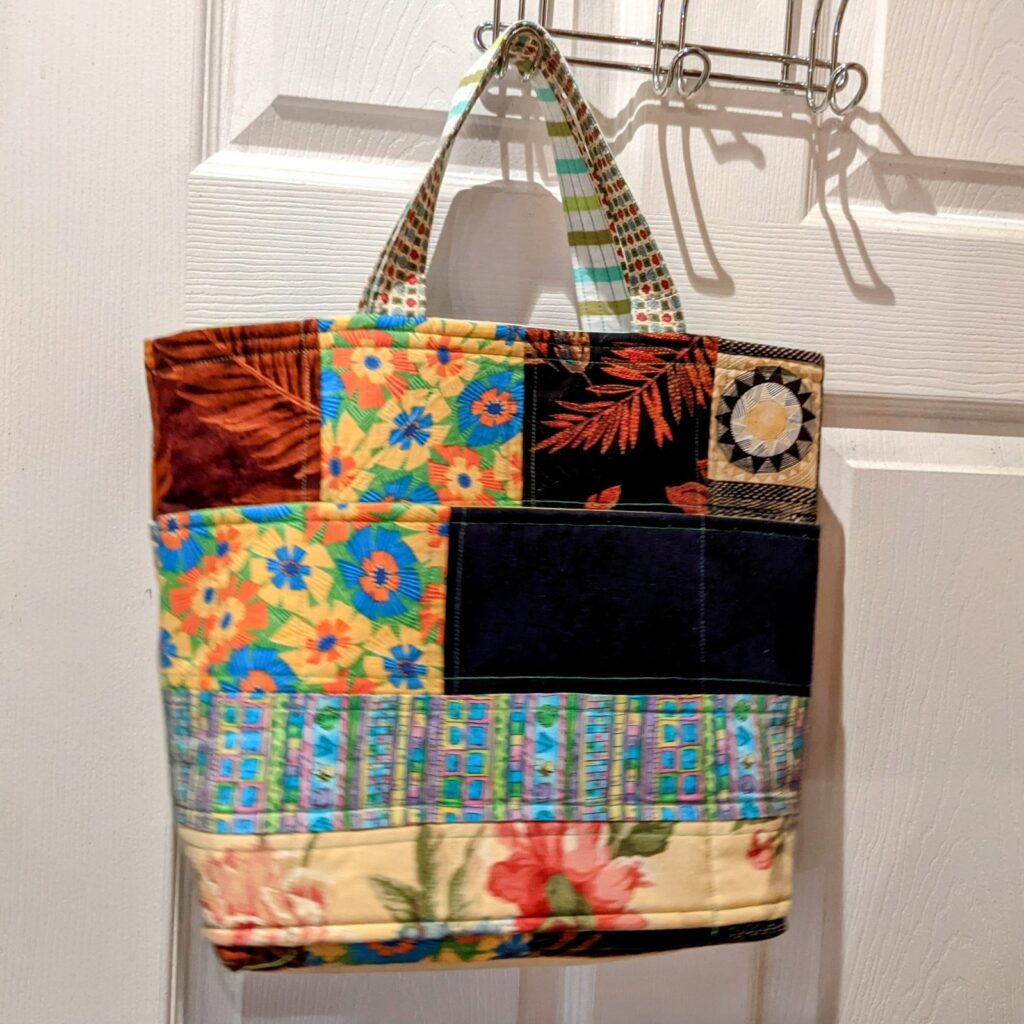
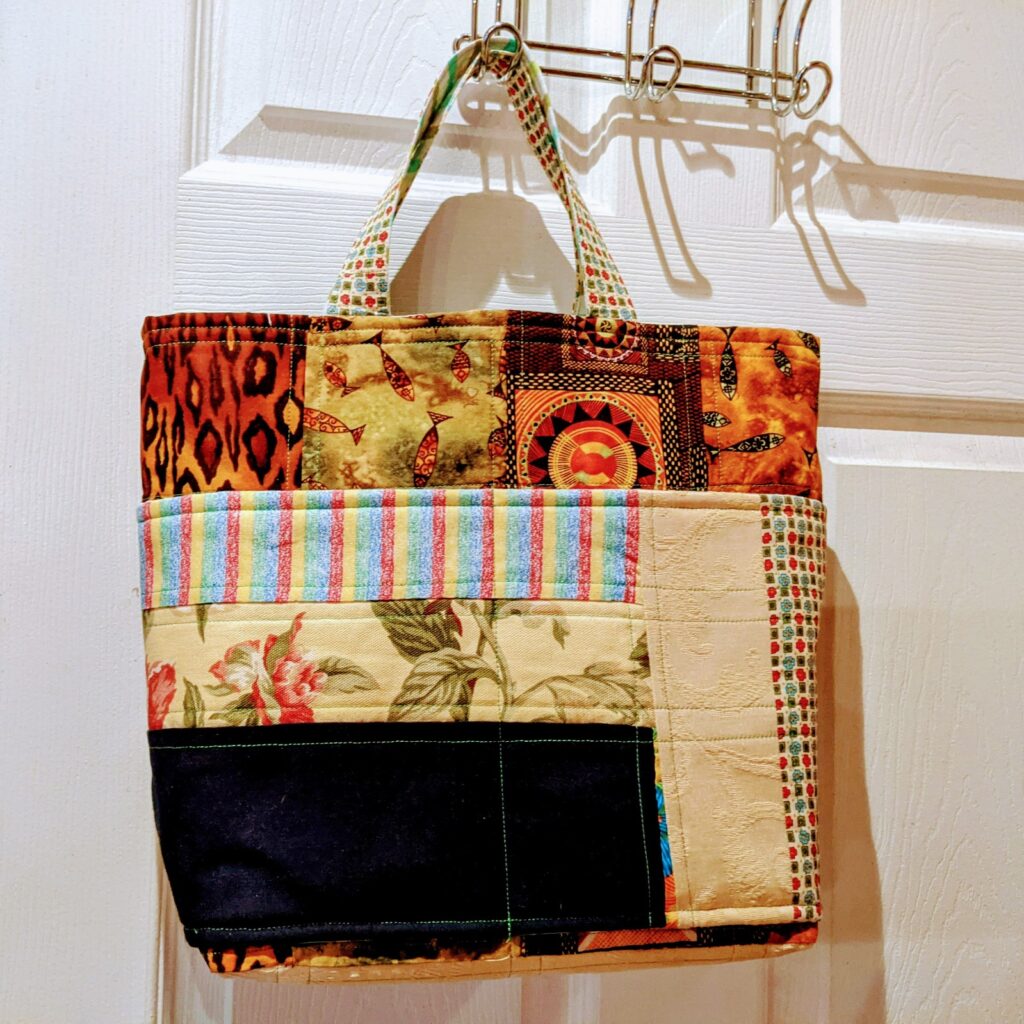
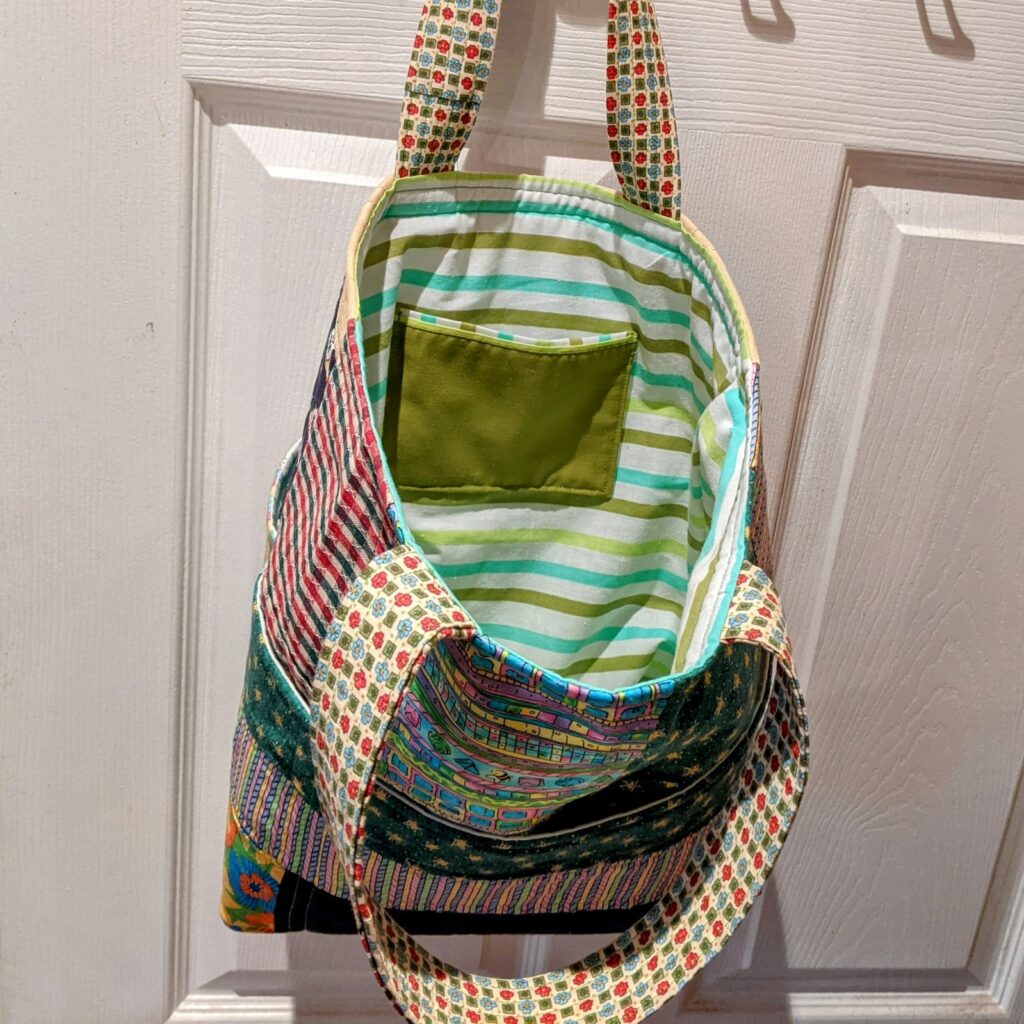
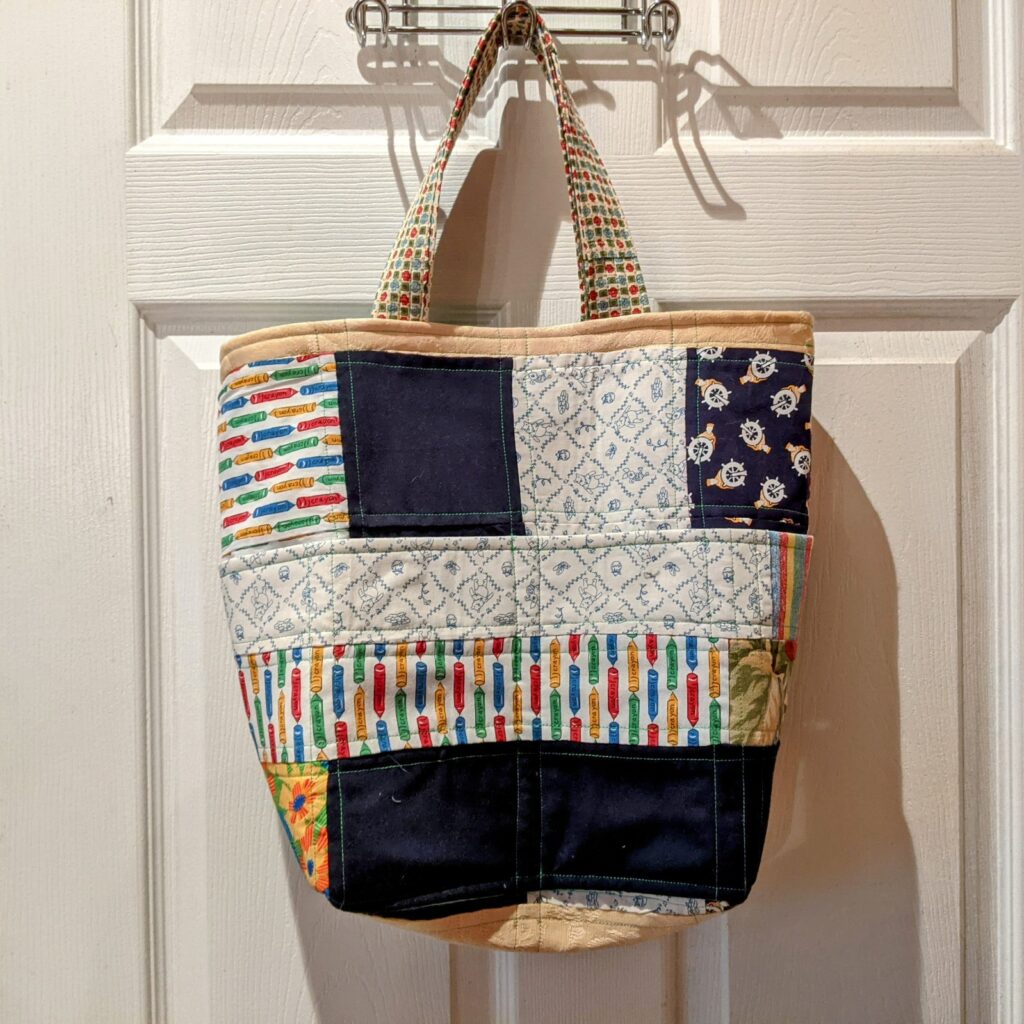
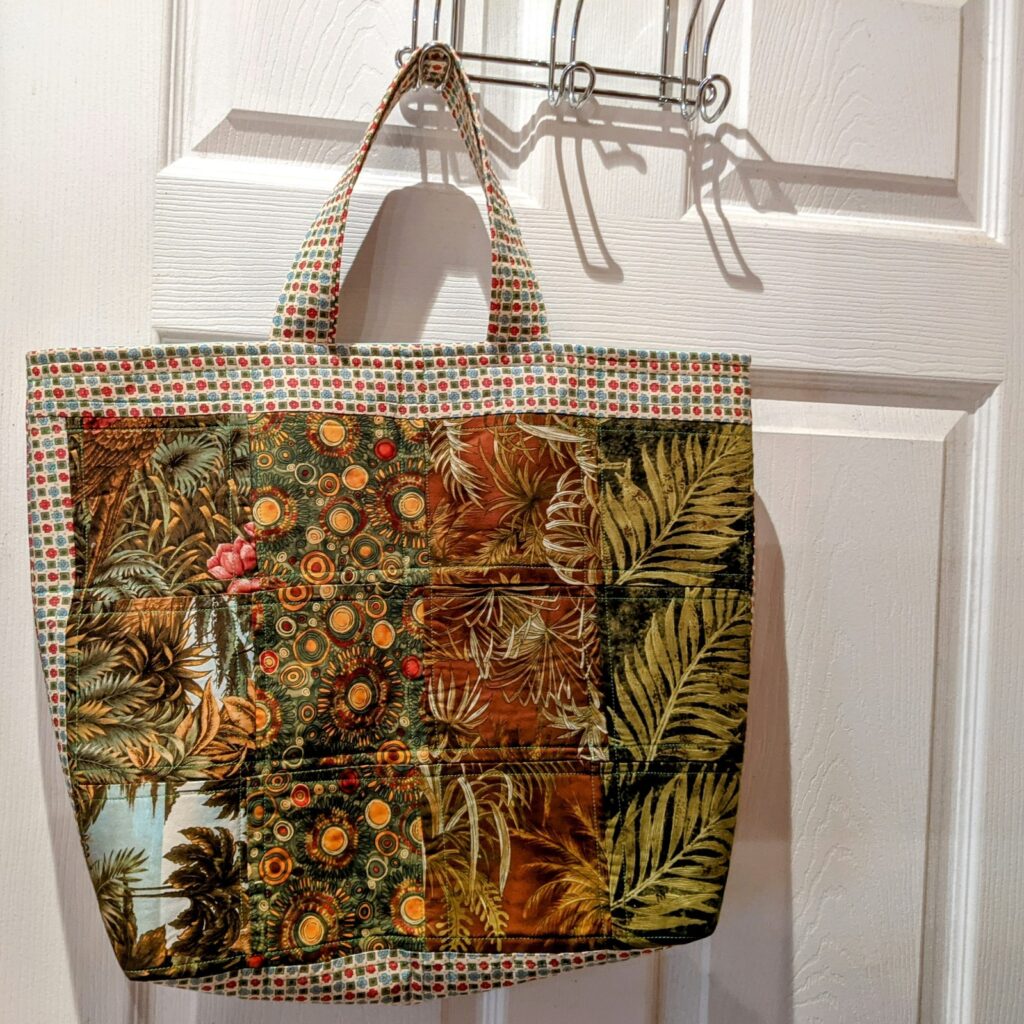
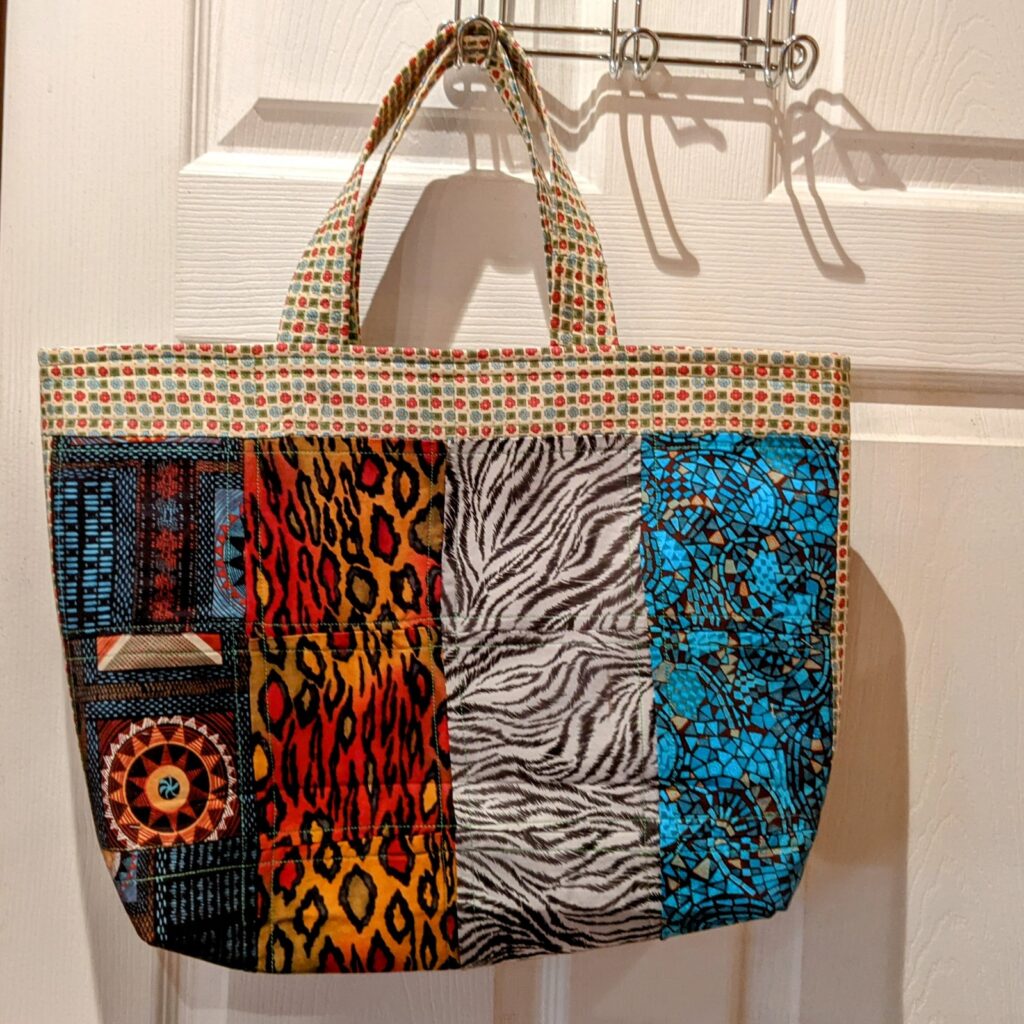
Every creation begins with selecting the perfect canvas – a high-quality piece of fabric. Whether it’s a tote bag, a cushion cover, or a piece of clothing, the fabric provides the foundation for my artwork. It’s like choosing the right paper for a watercolor painting.

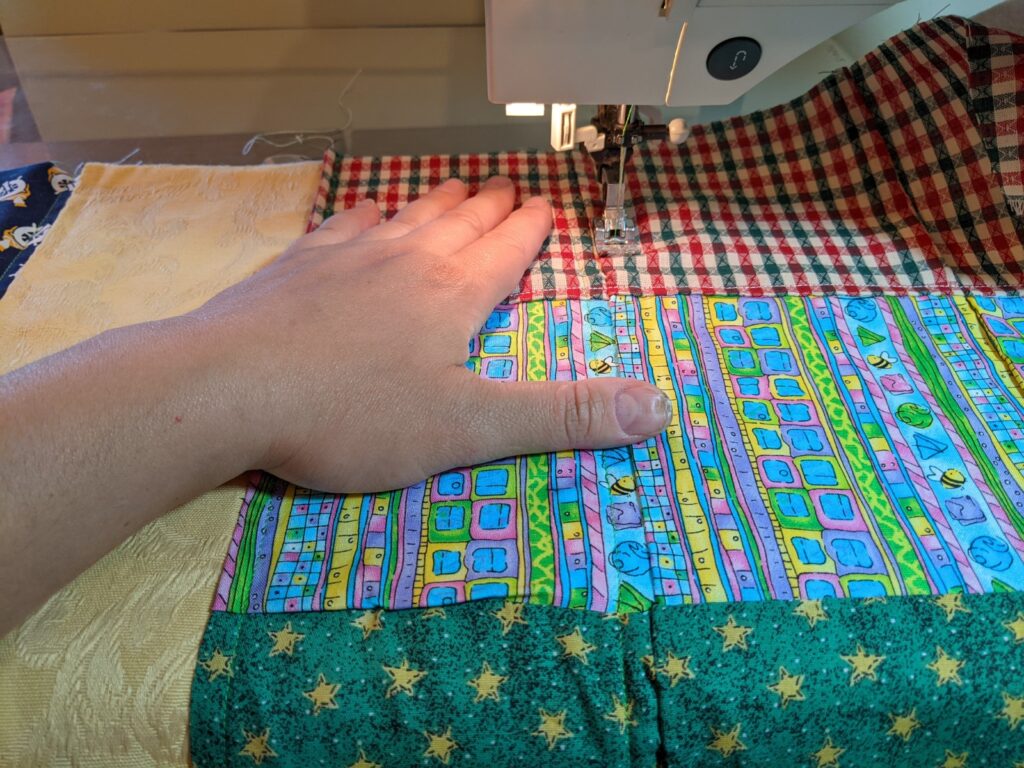
Step 2: Setting Up the Sewing Machine

Next, I prepare my trusty sewing machine. Equipped with a special free motion foot, it’s ready to bring my ideas to life. I also lower the feed dogs, the mechanical teeth that typically move the fabric, to ensure complete control over the fabric’s movement.

Step 3: Design Inspiration

Inspiration can strike at any moment, and it often dictates the direction of my work. Whether I’m inspired by nature, geometric patterns, or a client’s unique request, I begin by sketching out the design concept.

Step 4: Selecting Thread

I choose threads that complement the fabric and design, creating a harmonious visual experience. The color and texture of the thread are like the brushstrokes in a painting.

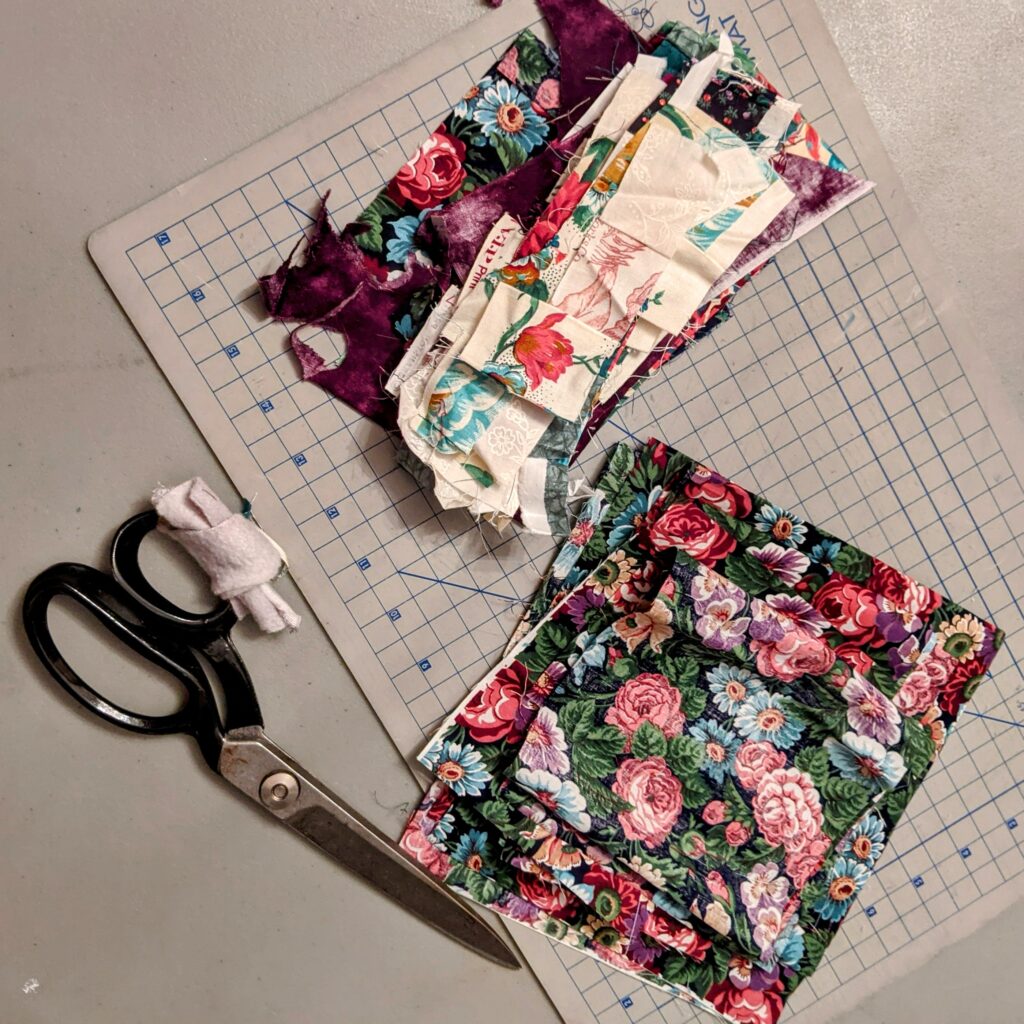
Step 5: Practicing the Stitches

Before diving into the main project, I practice on a spare piece of fabric. This warm-up session helps me adjust to the fabric’s feel, experiment with stitch lengths, and clear my mind to make sure I am in the right headspace to connect to my machine.

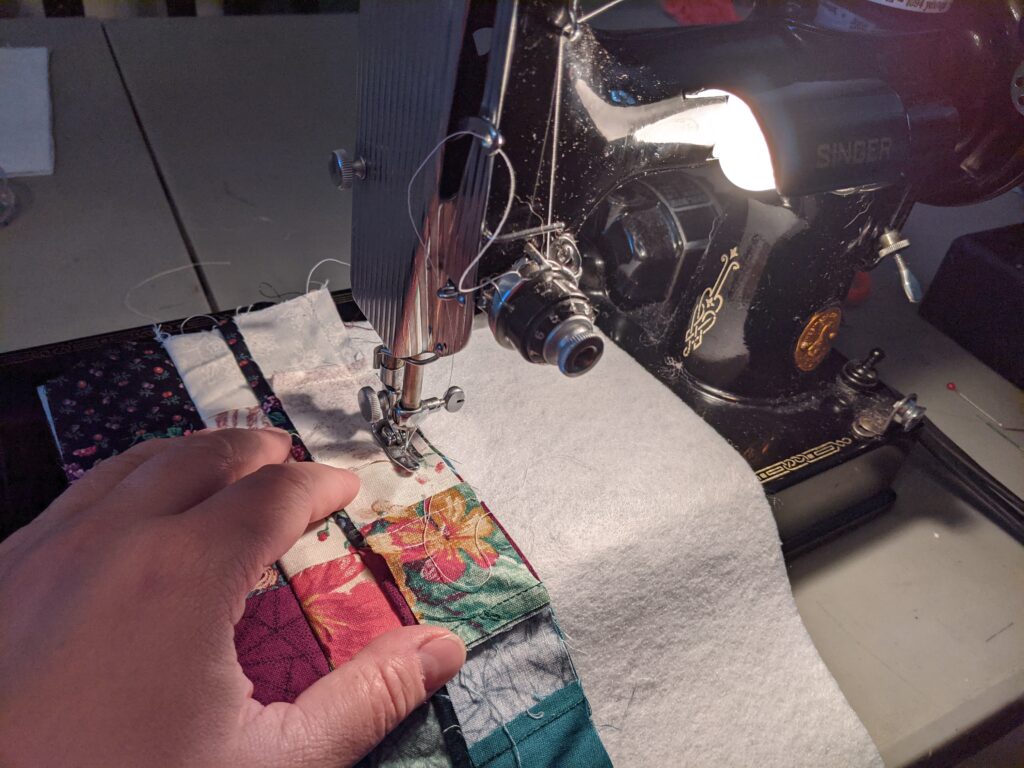
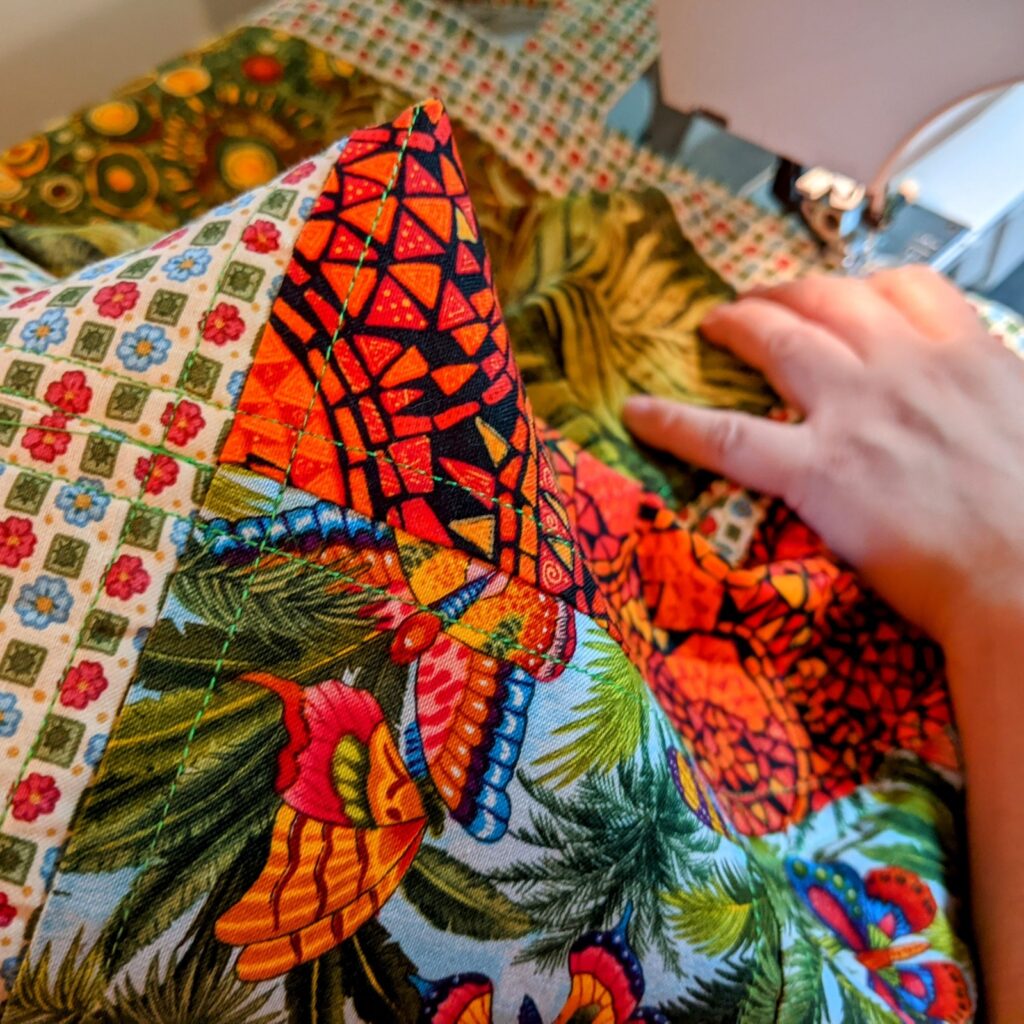
Step 6: Bringing the Design to Life

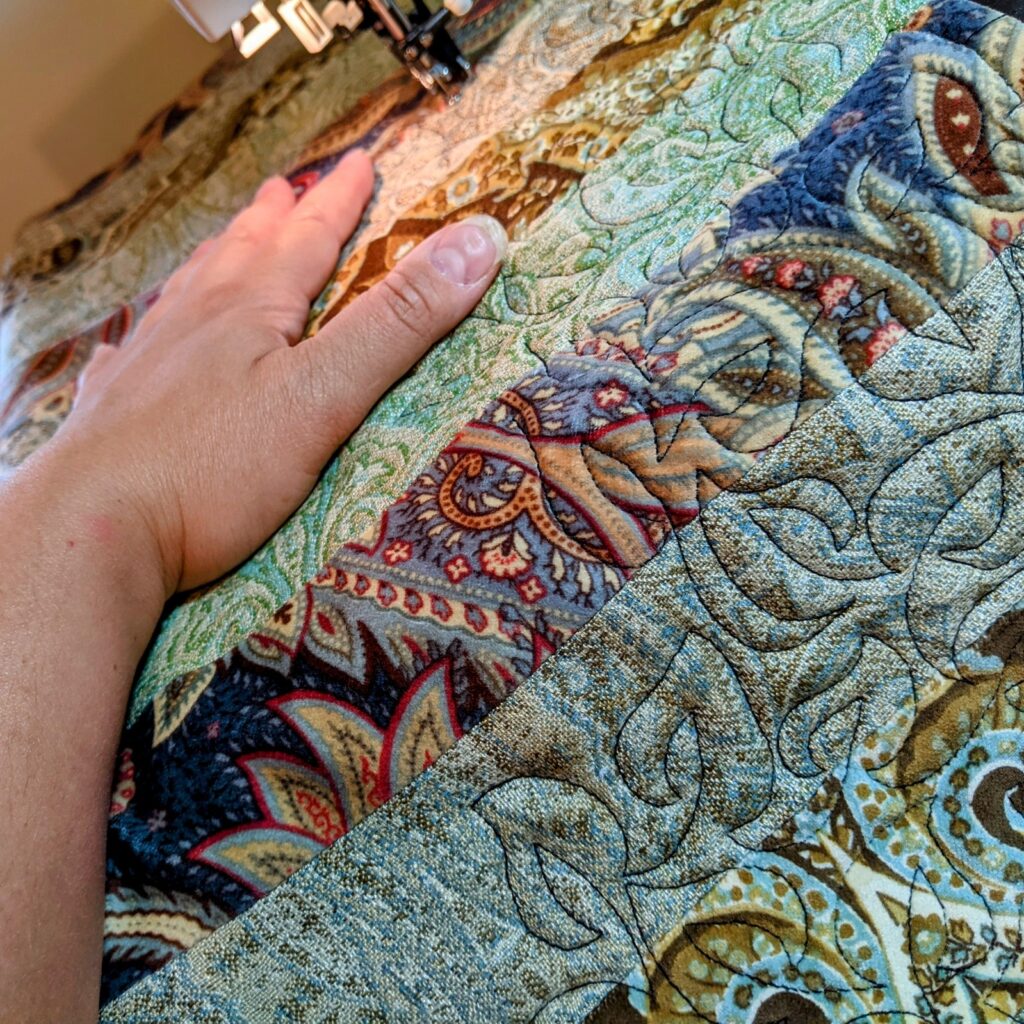
With the design concept in mind and a practiced hand, I begin the real work. I lower the presser foot, start the machine, and gently guide the fabric, stitching in all directions. It’s akin to painting a picture, but with fabric and thread as my medium.

Aprons with free motion embroidery and buttons can be found in the shop

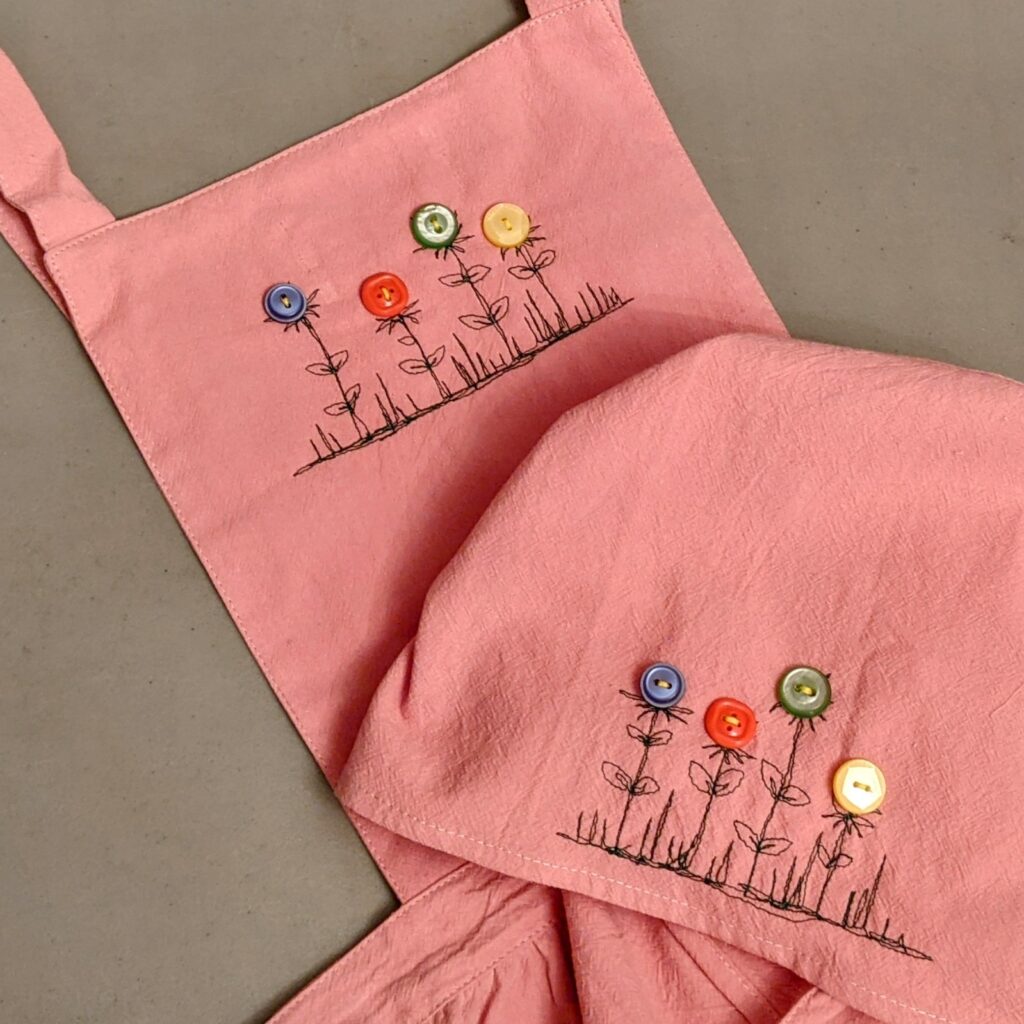
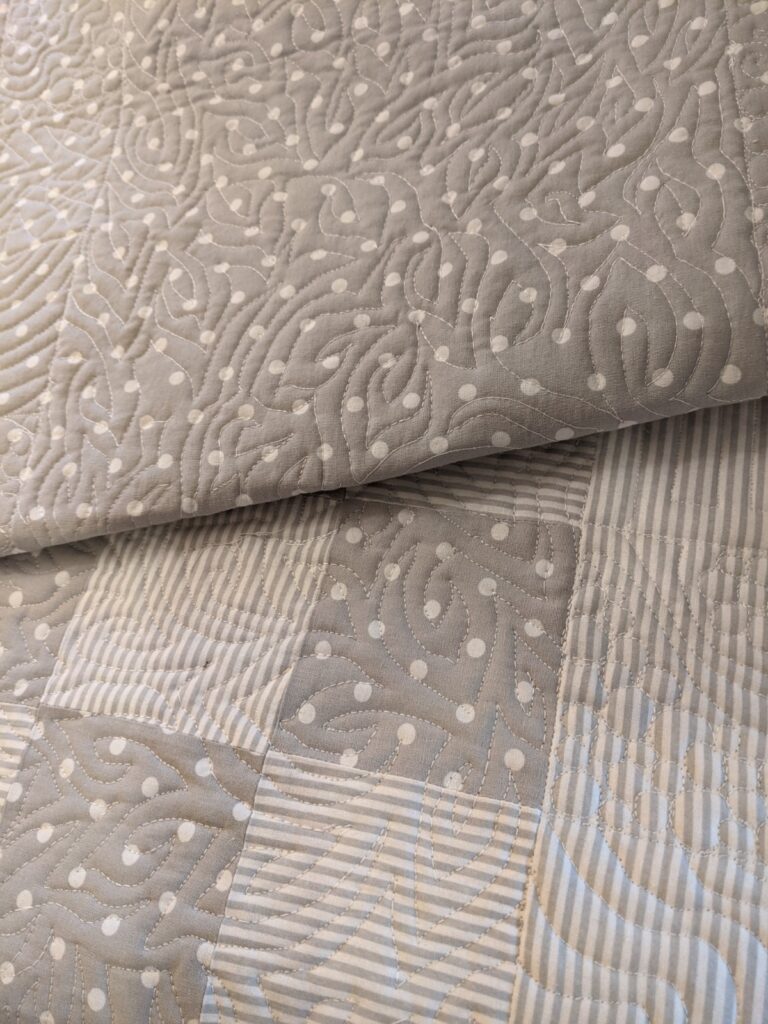
Step 7: Drawing with one line

Free motion embroidery allows for intricate details, textures. Its all done with drawing one continuous line. Always thinking about the next step and not sewing yourself into a corner. This is where the magic truly happens, turning a simple piece of fabric into a work of art.

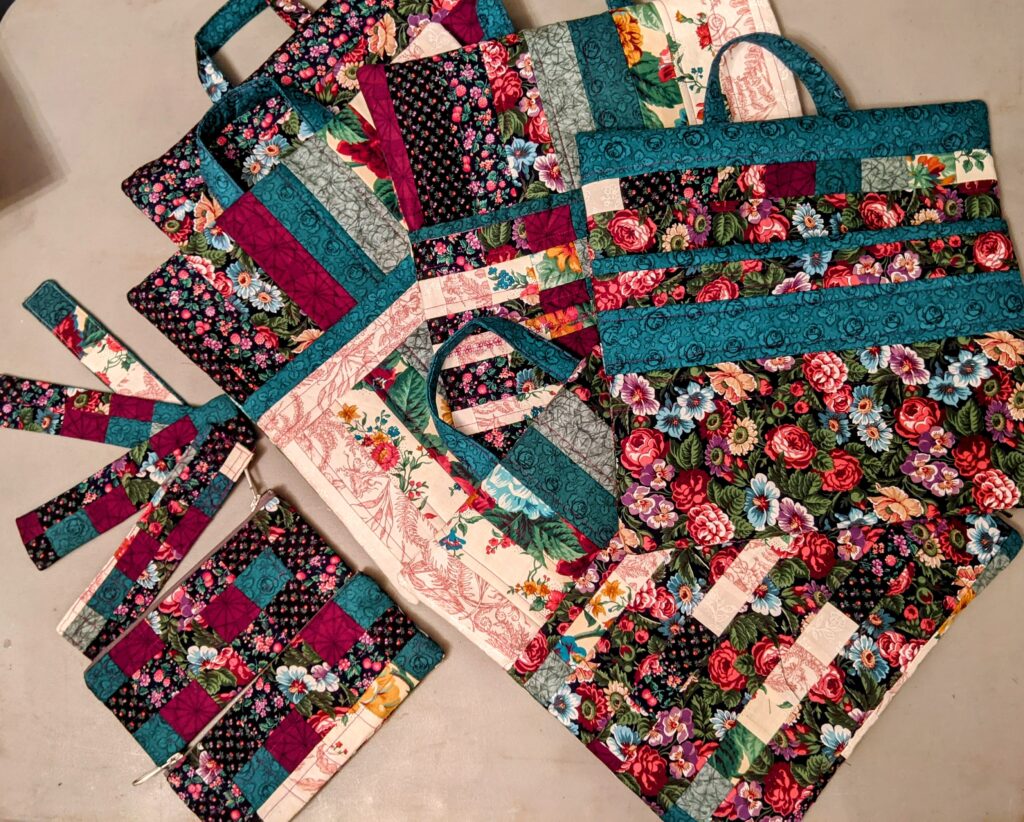
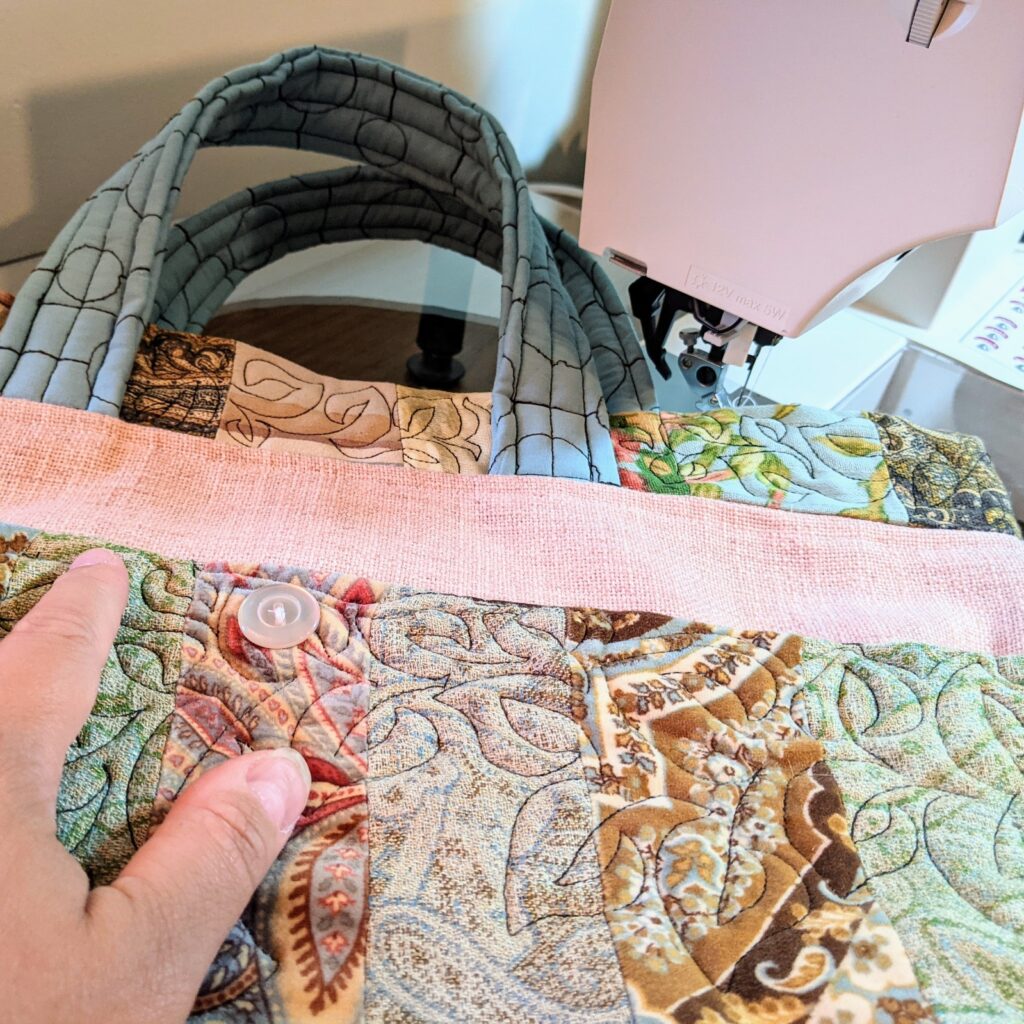
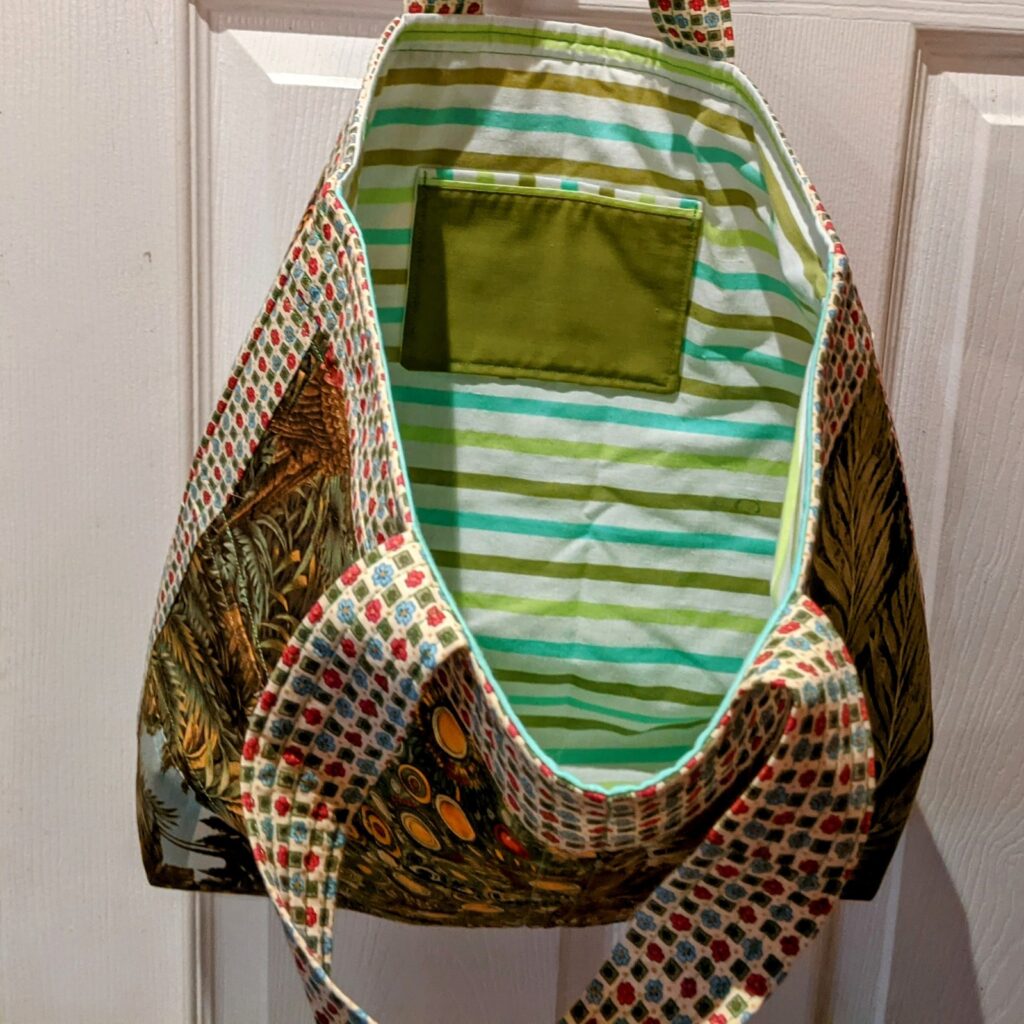
Step 8: Finishing Touches

Once the design is complete, I ensure that all loose threads are secured, and the fabric is well-tended to. It’s essential that my products are not only visually stunning but also durable and ready to withstand everyday use.

Conclusion

Free motion embroidery is the heart and soul of the products I create. Each piece is a labor of love, where artistic inspiration and skilled craftsmanship come together to form unique and personalized textile art. Whether you’re looking for a custom-made gift or a one-of-a-kind addition to your home decor, my creations embody the magic of free motion embroidery. Each stitch tells a story, and I hope that my work brings joy and beauty into your life. Thank you for supporting handmade artistry!

You can find some of my works in progress on my instagram page.

Posted on

Beautiful projects from a quilters stash

Featherweight Singer sewing machine

I put out the universe that I needed a pile of scraps so I could try doing free motion applique. To do applique you need a stash of lots of colors and prints to be able to color in the picture you wish to create. My stash is lacking. So I made a wish in my heart for scraps to find their way to me. 

Not too long after my dreams were answered! A fellow member of a small quilt group was given a woman’s fabric collection from her craft room. It had little nuggets of UFO (unfinished object) sprinkled in the pile. She offered it to us. I scooped up all the little pieces- I was thrilled! When I got home and saw the pile of little tiny pieces of bits and bobs and for the most part, no piece that was bigger than 3 inches- I asked myself “What did I get myself into?”– I am clearly crazy. 

Daunted by this huge pile, I pulled out one color grouping. It is burgundy and green. She clearly had done a quilt in this grouping of fabric. There were some sections of strips of fabric sewn together left. And come selvedge irregular ends of the sewn together strips. 

I have a new puppy who needs lots of attention so I wanted to do some sewing in the living room. (my main sewing machine is set up in a sewing room that puppies are not allowed in)  I bought an antique sewing machine a year ago. Its FeatherWeight Singer sewing machine from 1929. The same kind of sewing machine my mother owned as I grew up. In my early days I learned to sew my doll clothes on it. So it was a passion purchase but I had never pulled it out of the case to actually use. I decided this was the perfect excuse to do so. 

I am a really good sewer, but every machine has its own personality. With this Singer sewing machine I I hit a learning curve on how it handles. It feels so different to use. It is lovely and I got the hang of it. It will just take time to get to where I use it without needing to think about it. 

I pieced most of my projects together with the antique machine but when I wanted to do the top stitching and quilt it I wanted to use my Pfaff. It has many features that just make sewing easier and I am more confident using it.  Some features include: a wider neck to fit the projects in and a walking foot to feed the quilting stuff through. 

Since I didn’t have large pieces of fabric and I didnt use any other fabrics other than what was in this stash, I think my projects may be a bit busy. But I am deciding to not overthink it. And definitely feel that shopping for more matching fabric destroys the whole point of the scrapy project.  

I created 5 Reading pocket pillows 14 x 14. 2 pencil pouches and 4 book marks. (And two mini pillows – sewing pocket pincushions- not finished yet so not shown here). the bookmarks need some tassels – so not finished yet either.

It took me two days to complete this so far. I am really proud of myself for using almost every last scrap of fabric into usable products. Practically no waste whatsoever.  I imagine the original sewer would be really happy that their UFOs found their way into the world. Such a good girl, right? …but didnt I just forget what my original wish was? I didn’t leave any fabric scraps big enough of being worthy of doing an applique!!!! Can you believe it!!!

Here is the small pile of what is left.

Next is to give the a the projects a final pressing. And of course as I was turning them right side out one of the invisible zipper busts! UGH, so I have to rip one out and rework it all over. So it is not done… sigh. I was really ready to be done with this project. Once I do that I’ll get them all ready for a proper photoshoot and then list them for sale in the cushions section.

Here are the Reading Pocket pillows before being pressed and stuffed. It has my Ipad in it to show how nicely it will fit.

Posted on Leave a comment

Smitten with pink upcycled tote creation

I had purchased a used quilted blanket with the intentions of resale. Turquoise on one side and brown satin on the other. I tried to sell it. but since the brown satin fabric has some pilling it did not sell. I decided it was its fate to be reborn in another form to be useful to the world.

I acquired some fabric swatch samples from someone who use to work for an upholsterer. She was moving and getting rid of projects that she was not going to use. I also got some great buttons from her.

The trick about working with swatch fabrics is that the pieces of fabric are so small you often can not create an entire project with one piece of fabric. So I took about 6 different swatches and cut them up into strips and sewn them back together. this brings the pattern to create a cohesive over all pattern and you forget that you only have little scraps of different fabric.

I also acquired a bunch of couch fabric swatches. They are large swatches and I am confident about how well the fabric will wear. I chose the pink fabric for this project.

I was invited to vend at a knitting store so I wanted to make project totes. I define a project tote by it having several pockets. The outside pockets are constructed of the pieced together swatches and the other side is the quilted blanket. I then did free motion embroidery in the pattern of leaves. I learned how to do this by watching Youtube instructional by https://www.youtube.com/@AngelaWaltersfmq

I made the straps from the upcycled turquoise blanket. I stitched it into the seam between the body of the pink bag and more pieced swatches. Once I assembled the entire bag I went in and did more free motion embroidery at the top of bag so that it matched the pockets.

Having it all sewn together I held the bag up and let like the side pockets flopped open too much. I could have stitched down the pockets into smaller pockets like I have on other totes. But I felt like this bag I wanted to keep big side pockets. I pulled out some pink buttons and used one per side at the top center of the pockets.

I finished the bag and went on to work on another bag with similar materials. For the next bag I wanted to not do any of the free motion quilting because it takes so much longer to do and I am concerned about the ability to charge enough for my time. That maybe bags without the free motion quilting on it will be easier to sell at a lower price.

I haven’t had a chance to take nice photographs of the final projects. But I did want to get this article written and share it with you. I have fallen in love with the pink one. I am hanging it next to the tv for me to admire. It is good to appreciate the things you create. To remind yourself that creating beautiful things to put into the world is a worthwhile thing to do. Who knows I may never photograph it for purchase on the site, it might just end up in my closet! I will be making some more with the turquoise blanket. You can find many nice bags in my shop. Stay tuned on my instagram page.

Posted on

A quilt top project to test my skills

sewing a bag

In my journey to learn to quilt I have been playing with different techniques and different types of projects. And then seeing if they are profitable or interesting to me as something to sell. It has been an interesting journey of fun and finance.

One thing I was seeing out in the market was cutter quilt products. This is where a quilt is taken, cut up and made into something else. At the volume that some of the makers were producing I can’t believe that it is only worn or damaged quilts that get used but also quilts that are still very usable as quilts. It broke my heart to see so many usable quilts being chopped up and put into quilts. One of my favorite artists to watch is thehalseyhomestead.com

I thought well maybe I could use just the quilt tops and use those in projects. Quilt tops are often found because someone made the top and abandoned half done project. They could have abandoned it for any number of reasons. The cost of the batting and the time and effort to quilt it all together may have been too daunting. (some people pay a great deal of money to send the quilt top out to a longarmer- a person with a machine that can reach and quilt the entire expanse of a quilt. I felt better about cutting up an unfinished project and finishing it off and giving that hard work a useful life. 

I was given one that was an immaculately started quilt project. I was from an old age home. The pieces were hand piece- it is absolutely stunning. The tiny stitches so perfectly done it was my teacher to try to continue in such a fine fashion.  I have been enjoying finishing work on the project. That one I am hoping to make into a full quilt someday. It’s a slow and meticulous work, a labor of love for my home. Definitely not something that has any retail feasibility. 

So I asked my sister-in-law if she saw quilt tops in the thrift stores around her. She said yes she does. I asked her to grab me some without any instructions on parameters whatsoever. (because of course they would all be like the one I already had right?) She grabbed some quilt tops and brought them to me. Well let me just say not all cool tops are created equal. 

The project

I decided to start with one that was in earth tones. As I looked closely at it I realized it was created by a beginner sewist. And had no instructions on how one goes about creating a classic quilt. My heart went out to how much time that new sewer had put into assembling this quilt top and I wanted to give it new life. All in keeping with my desire to upcycle, give things new life, use everything, no scrap is too small to be useful. 

I had also watched my quilting group generously take on other’s beginner sewing and turn it into a beautiful baby quilt for donation to charity. It is such heart warming work. I felt inspired. 

With all those blooms of good doer in my heart I forgot about what a sewing snob I am and how finicky I am about sewing standards. I didn’t think about how challenging taking somebody else’s less than perfect work might be for me. 

Taking a broad look at the quilt top and its design. I suspect that they were given some 5×5 squares of different fabrics and went home to sew them together. Well the typical quilting strategy is to put the different fabrics back together in some sort of pattern that also distributes the different fabrics and colors throughout the quilt creating a cohesive balance or overall story. Well they didn’t quite understand the assignment and sewed like fabrics back together in strips. Leaving one part of the quilt top having no relation to the other parts. So I felt like this project was best served to cut up into different projects and not remain a quilt top.  

I decided to chop it up into shopping bags. Well as I proceeded putting these together I realized that when they found that pieces didn’t quite fit together they either gathered one fabric into the seam or they put large pleats so nothing lay flat. I will admit on a couple of instances I ripped out the seams and removed the pleat and made the fabric lay flat.


Their hand stitching was very large stitch lengths. Which means they might not hold up to any weight bearing activity. I had a choice to make: do I disassemble all the squares and make them lay flat and have a strong seam or do I honor the work that this sewist put in and find a way to save it. Disassembling and resewing didn’t seem in the spirit of what I was going for so I decided to be a hero and find solutions while keeping the original work. 

I needed to sew down all of the squares onto a base to make it a usable sturdy product. I decided to put stitches on either side of the seams in a colored thread. This not only would add stability to the product but also add a design element that pulled everything together. This was easier said than done since none of the fabrics laid flat. And I have to say as I went along I cursed and grumbled the whole way through.

I kept trying to remind myself that I was honoring this person’s work and wondering how they would react if they saw it all finished up. They had suffered a sadness having to give up on this project. This would create joy from their work by having it actually getting used. I was taking on this challenge to my skill as a seamstress to see if I could make chicken salad out of chicken sh*t. 

At the end of two days I was still not finished. I was determined to get these four bags done and out of my hair. I stayed on the sewing machine for 2.5 more hours. Yup I ate dinner at 9pm for the sake of getting these darn things done!

A Comparison project

I worked on a different project of four bags that were not pieced, no exterior pockets and were not lined. Those four bags were completed in half a day. In contrast this new project of four bags took me two full long days. Granted it is not an apples to apples comparison. But with these new bags I don’t think that I can charge enough to make it warrant a decent hourly wage. (these bags can be found in the shop)

two tote bags
two tote bags

The completed bags from the quilt top:

This project took me two long days to make four bags. I used up every last scrap of fabric from the quilt top, a lining fabric and an interfacing. All four bags have little inner pockets and two of the bags have large quilted exterior pockets. I met my goals of honoring that sewist’s long hard work. I feel that the bags meet my standards and I am proud of the work enough to show them. Hopefully someone will fall in love with them and use them. 

So here’s a hard lesson learned about sewing things to sell. It needs to be fast for the end cost to be something people will be willing to pay. (and save myself from cursing while I fight with bad sewing!!! LOL)